The Atlas console at https://sky.runatlas.is is enough for clicking around, but the moment you want to script anything — Terraform, cmk, curl, or a deploy pipeline — you need an API key + Secret key pair.
This page walks you through generating that pair, configuring cmk to use it, and wiring it into Terraform.
1. Log in
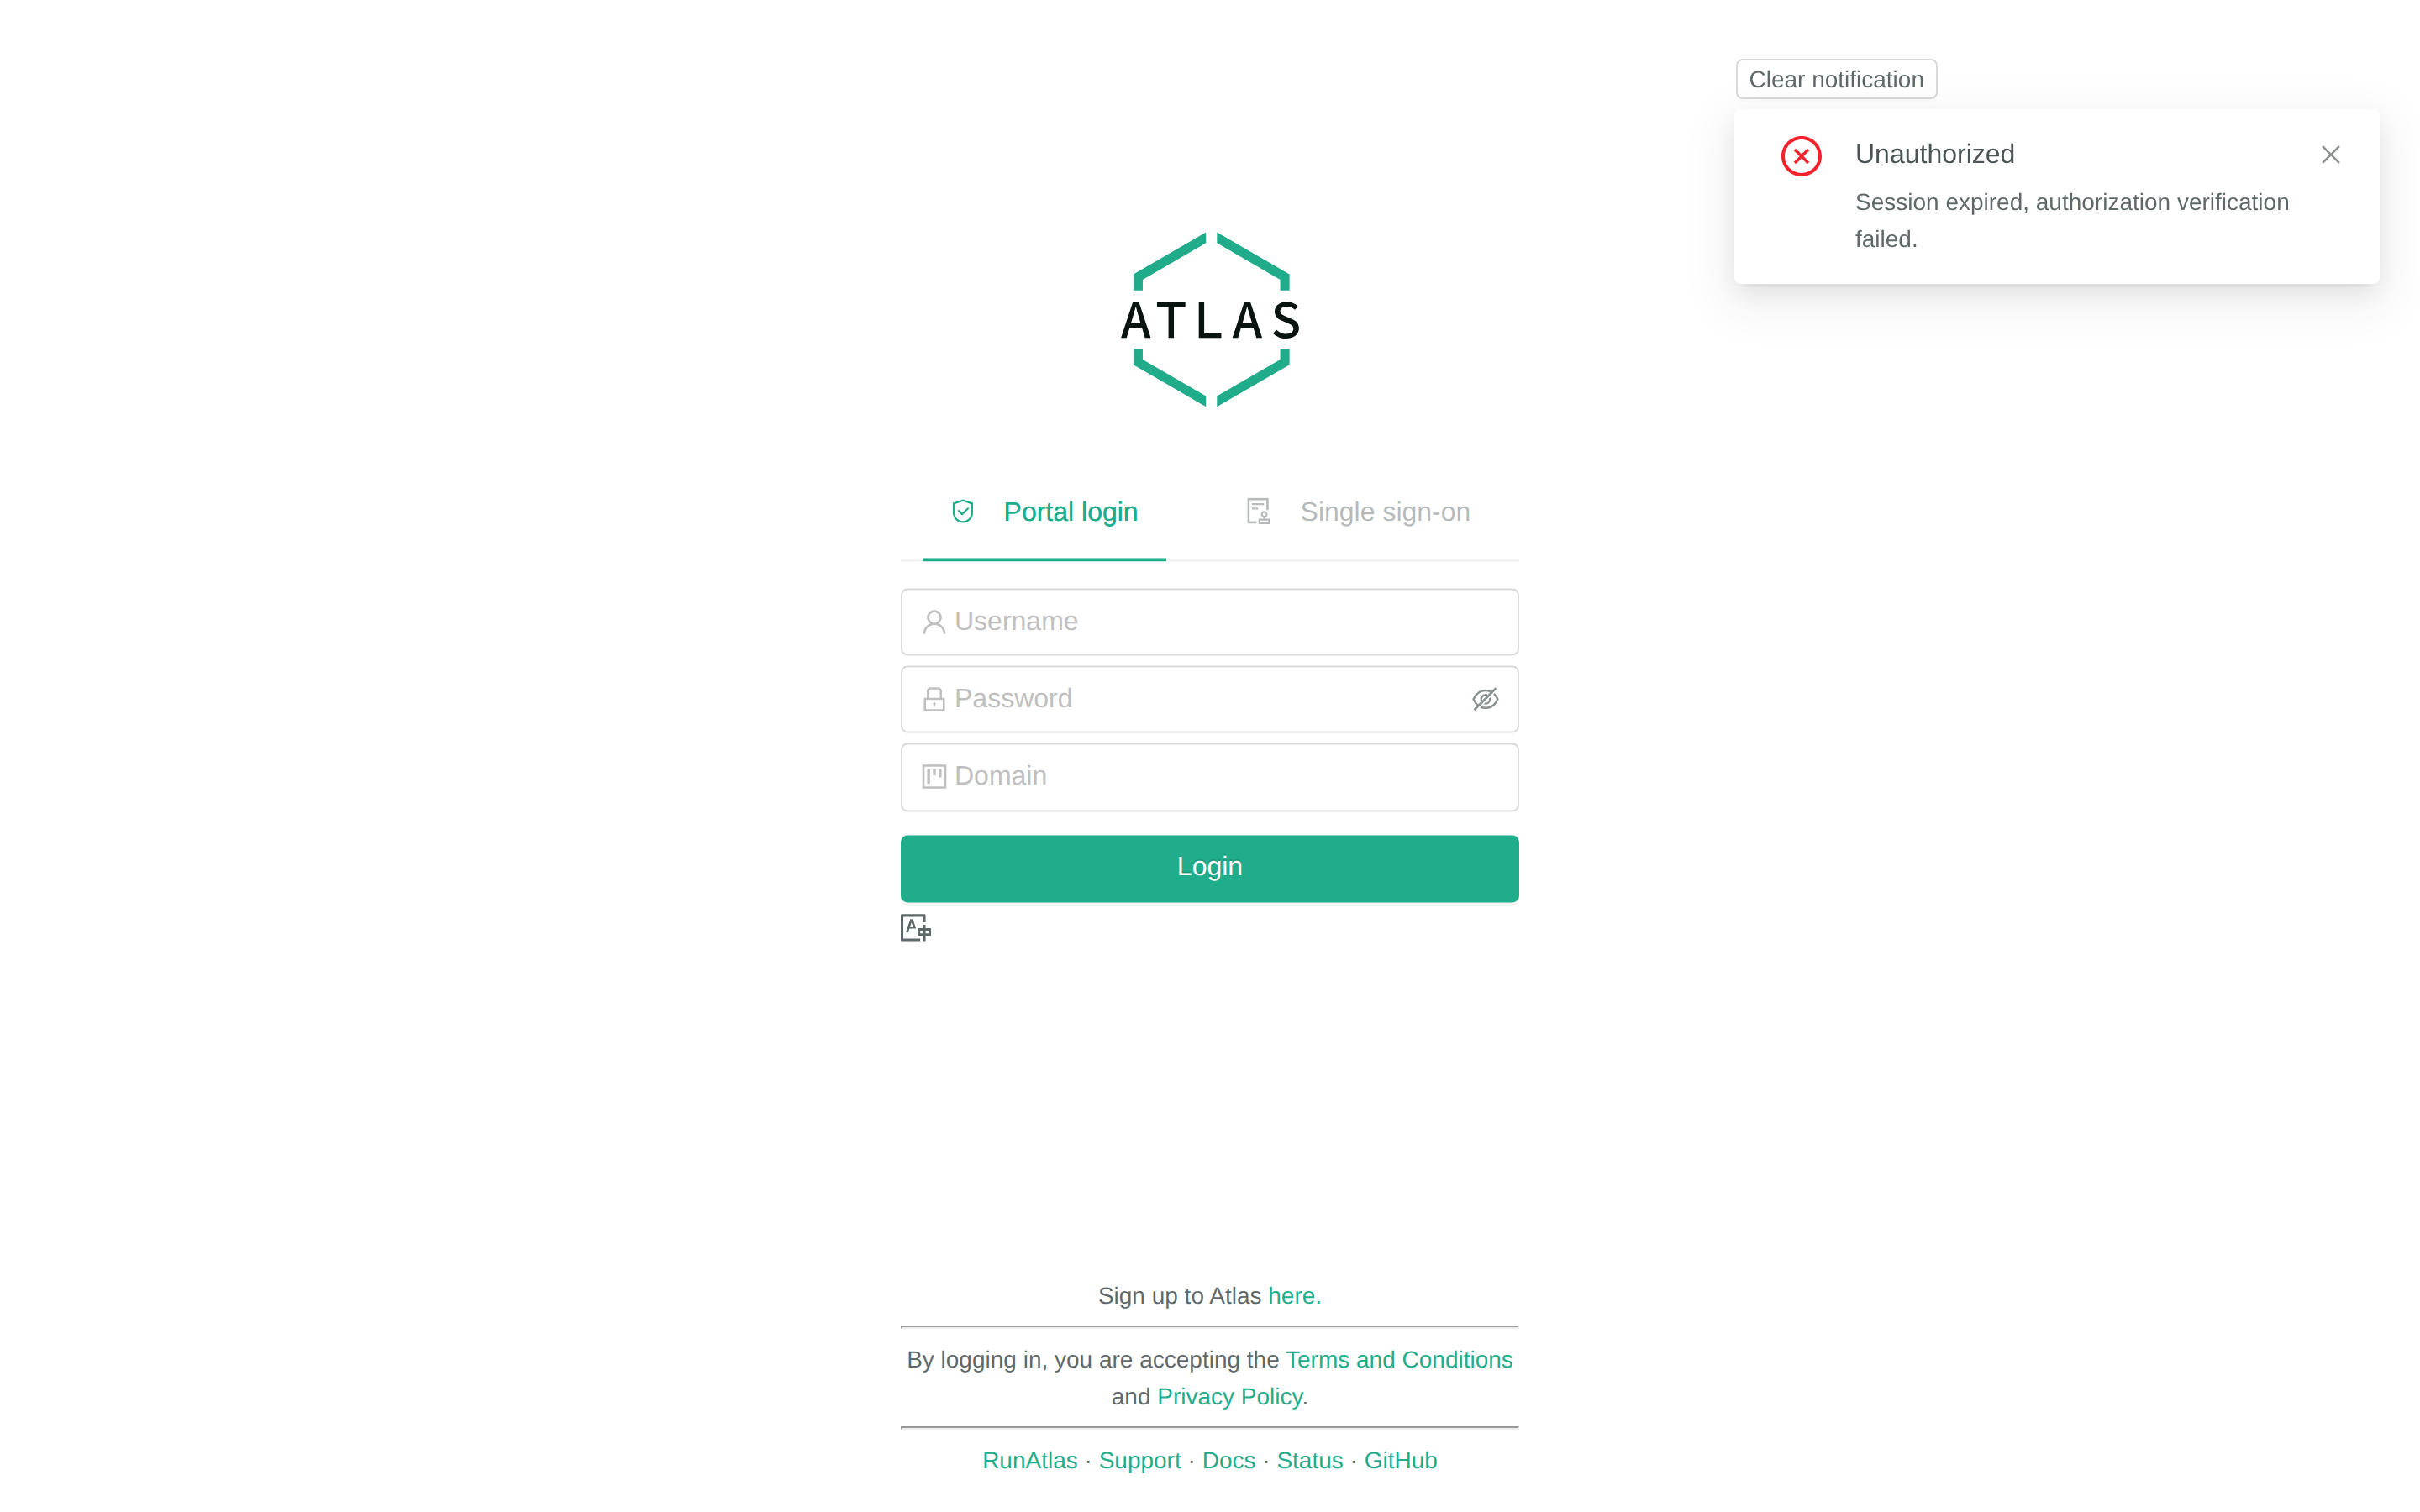
Go to https://sky.runatlas.is and sign in. The login form has three fields — username, password, and Domain (your account’s domain path, e.g. /demo).
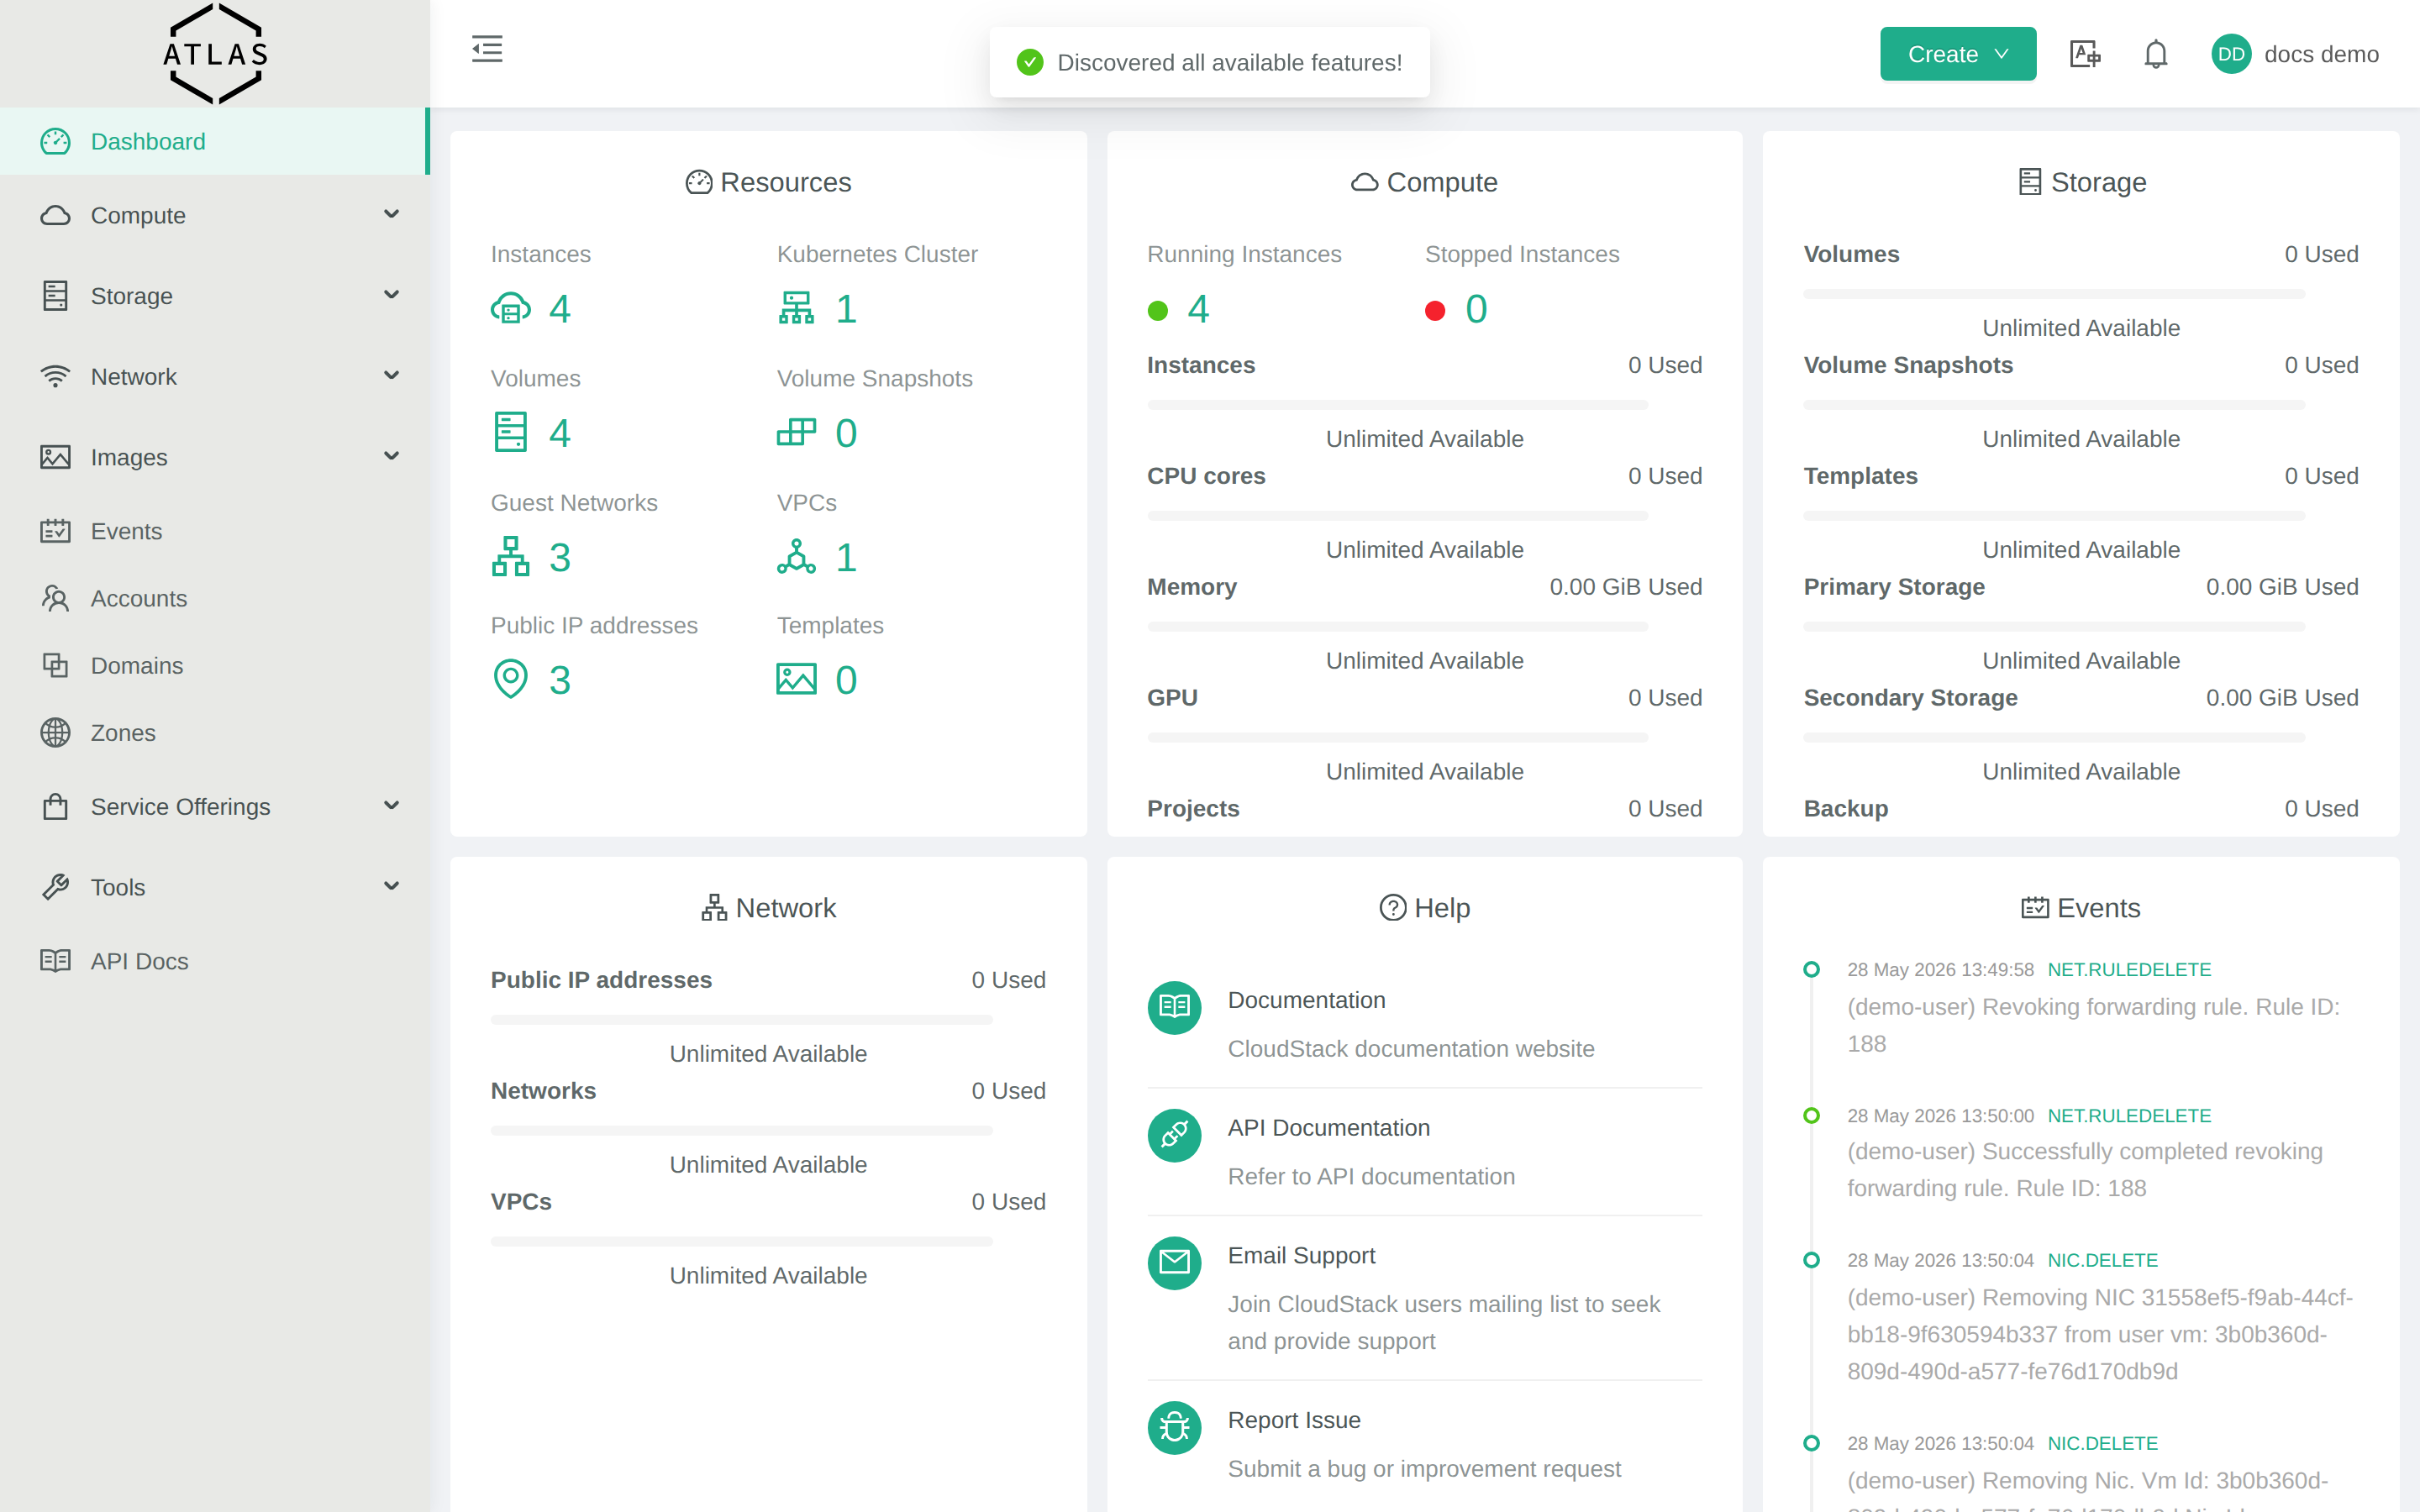
After login you land on the dashboard with a left-side navigation menu and a “Create” button top-right.
2. Open your user profile
Click your avatar in the top-right corner of the dashboard, then User Profile. You can also navigate directly via Accounts → click your account → click your username.
The profile page shows username, ID, account, role, domain, and a row of action icons in the top-right of the page header.
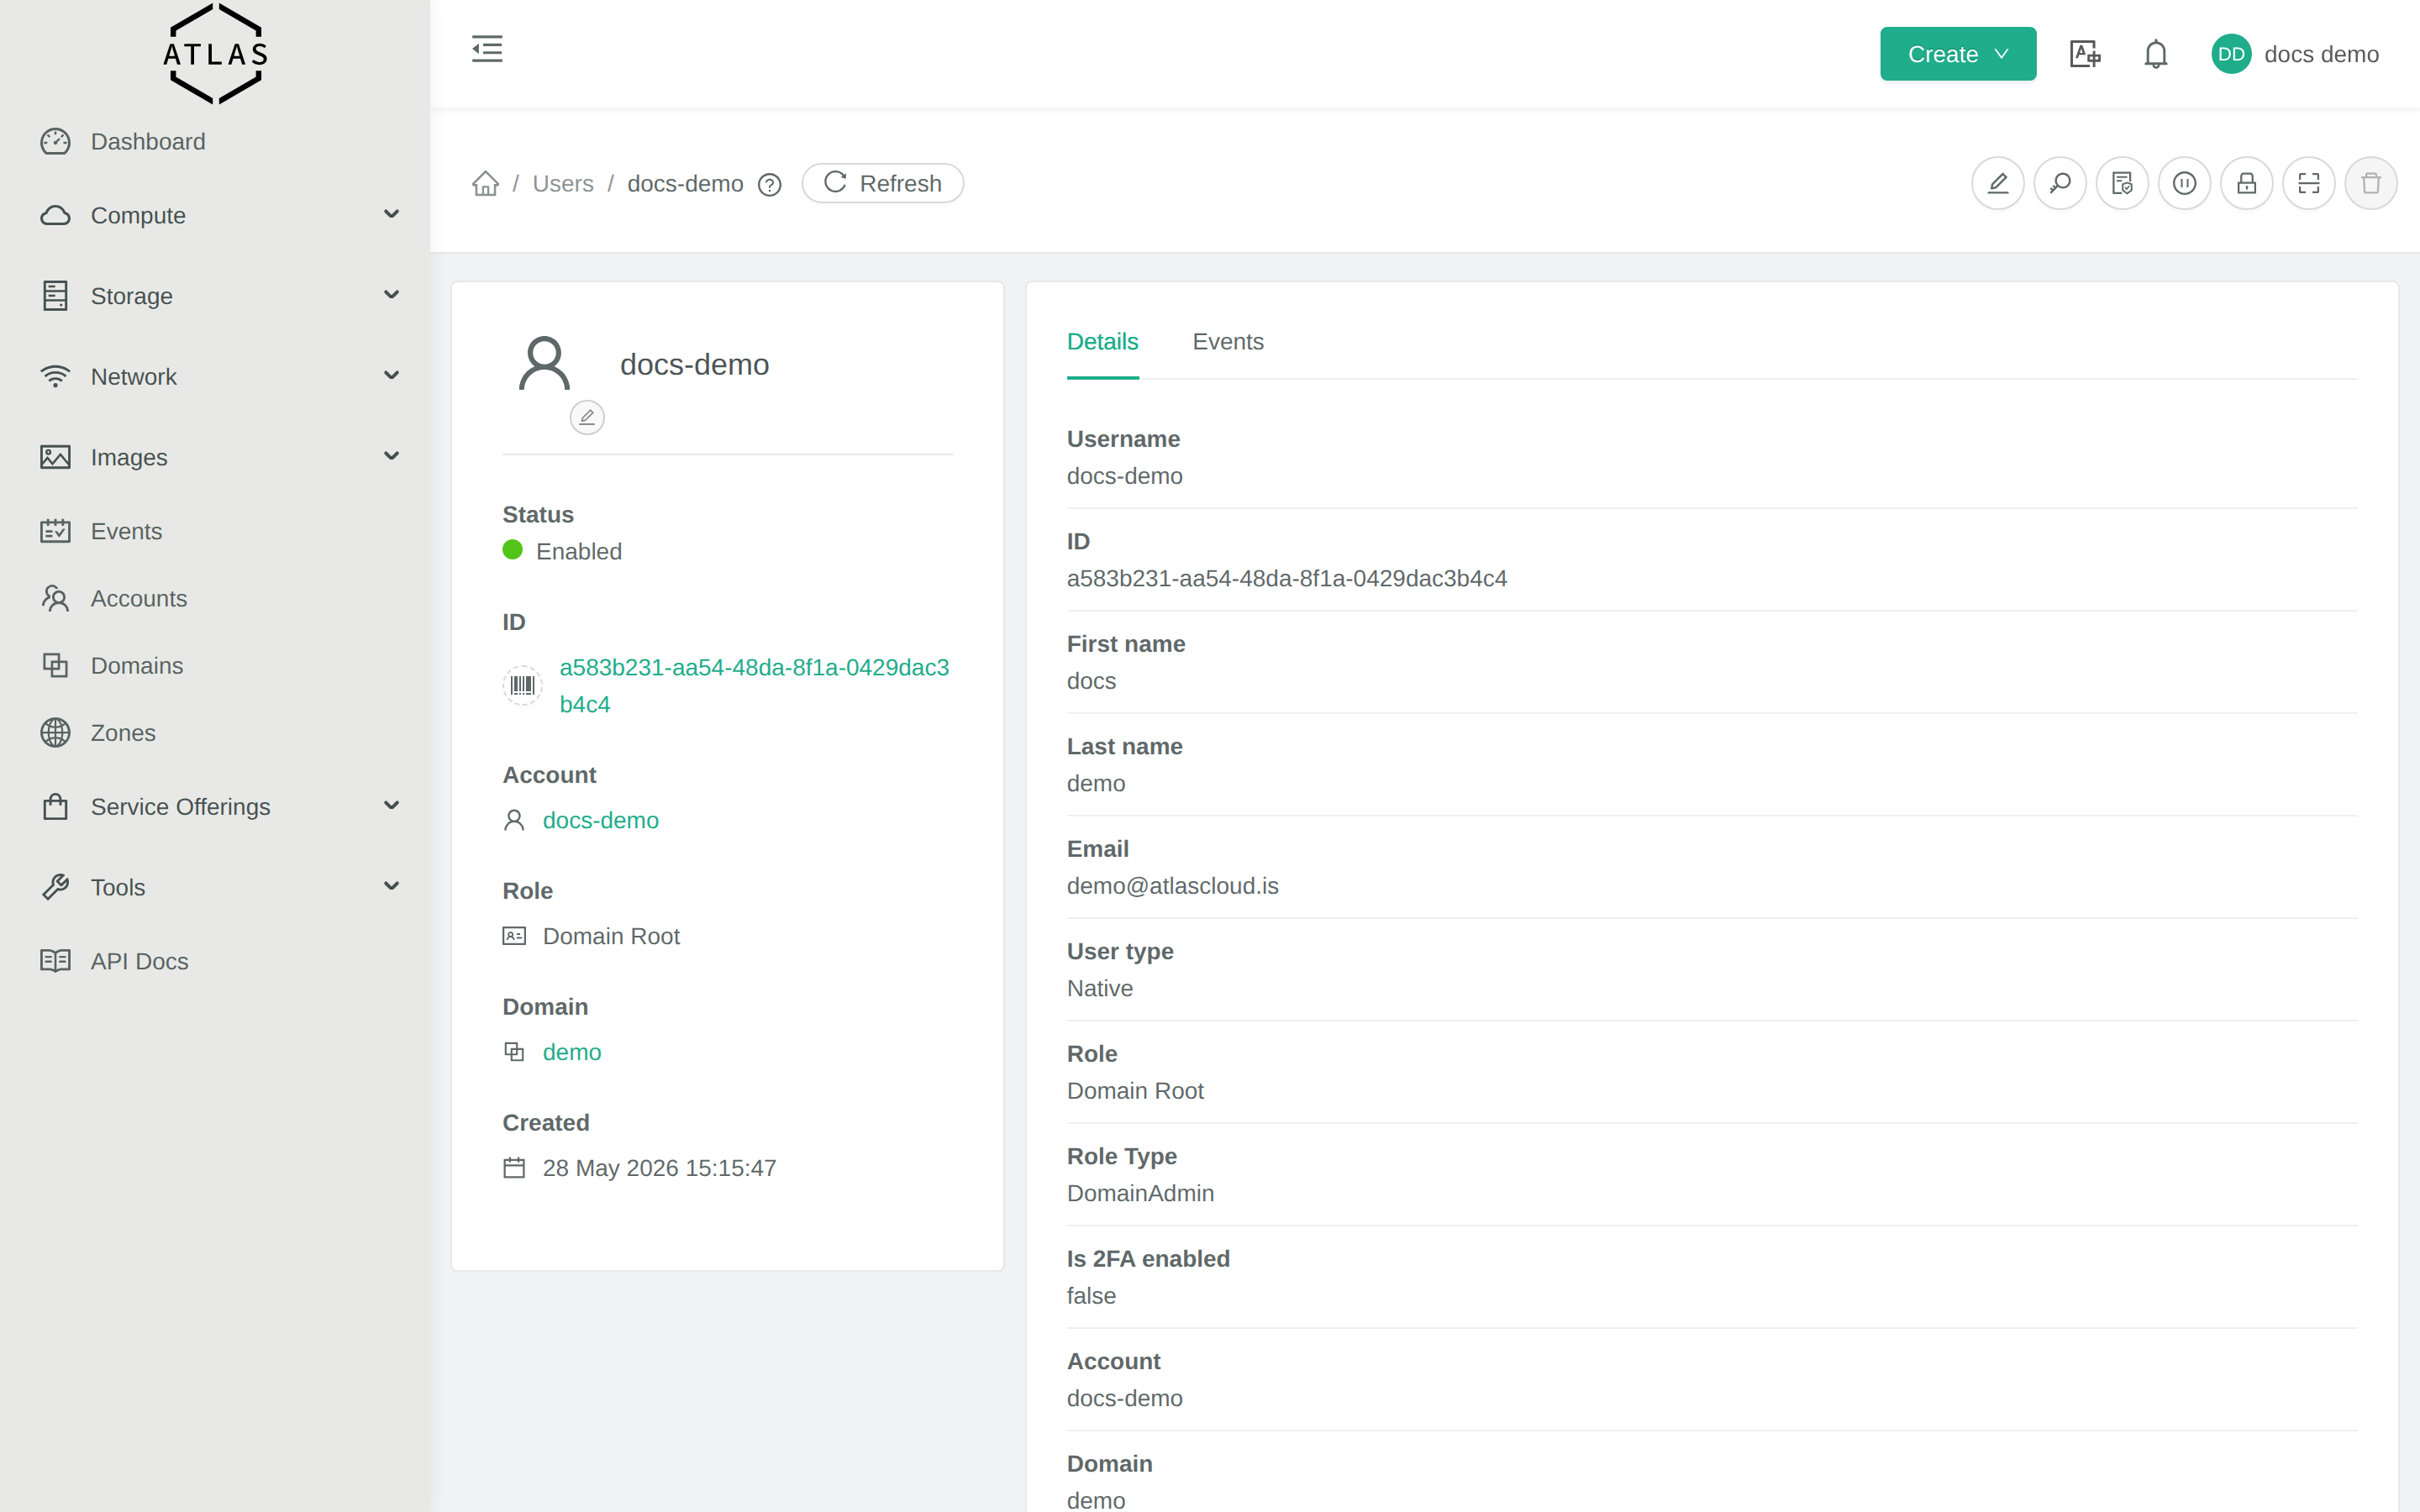
The action icons (top right) are, left to right: edit user, copy user ID, generate keys, change password, disable user, delete user.
3. Generate API keys
Click the key icon in the action row (third from the left). A modal pops up with two values:
- API Key — the public identifier; safe-ish to include in logs.
- Secret Key — the signing secret; treat it like a password. Never paste it into a screenshot, slack, or PR.
Copy both values somewhere secure. You will not see the Secret Key again unless you regenerate.
No grace period on regeneration. Generating a new key pair invalidates the old one immediately. If you have automation running with the old pair, plan the switch.
4. Configure cmk
The cmk CLI stores credentials per profile so you can manage multiple accounts. Edit ~/.cmk/config (it’s a simple INI file) and add an [atlascloud] profile, then set it as the default:
prompt       = ⛅
asyncblock   = true
output       = json
profile      = atlascloud

[atlascloud]
url       = https://sky.runatlas.is/client/api
username  = your-username
domain    = /your-domain
apikey    = AKIA...your-api-key
secretkey = ...your-secret-key
Test it:
cmk list zones filter=name,id
# expect: { "count": 1, "zone": [ { "id": "...", "name": "is1" } ] }
You only need apikey and secretkey — username and domain are for reference and for switching between profiles.
5. Configure Terraform
The Atlas API is the upstream Apache CloudStack API. Use the cloudstack/cloudstack provider:
terraform {
  required_providers {
    cloudstack = {
      source  = "cloudstack/cloudstack"
      version = "~> 0.5"
    }
  }
}

provider "cloudstack" {
  api_url    = "https://sky.runatlas.is/client/api"
  api_key    = var.cloudstack_api_key
  secret_key = var.cloudstack_secret_key
}

variable "cloudstack_api_key"   { sensitive = true }
variable "cloudstack_secret_key" { sensitive = true }
Then in terraform.tfvars (which you should .gitignore):
cloudstack_api_key    = "AKIA..."
cloudstack_secret_key = "..."
Or pass via environment variables: CLOUDSTACK_API_KEY, CLOUDSTACK_SECRET_KEY (Terraform reads these automatically).
Rotating keys
To rotate:
- Open your User Profile.
- Click the generate keys icon again. New pair appears; the old pair stops working instantly.
- Update
~/.cmk/config, your Terraform variables, and any CI/CD secrets.
For zero-downtime rotation, the cleanest path is to create a second user with its own key pair, switch automation to the new user, then rotate the original.
S3 access keys
S3 buckets at s3.runatlas.is use a separate access-key pair from the HTTP API keys above. You generate S3 access keys from the storage section of the console. See Buckets for the workflow.