This is the click-through version of the Quickstart. If you prefer pasting commands, the Quickstart’s CLI and Terraform tabs do the same five steps faster — come back here if you want the visual reference, or if you’re showing Atlas to someone over screenshare.
The end state is the same: a public-IP-reachable Ubuntu VM serving an nginx welcome page.
1. Log in
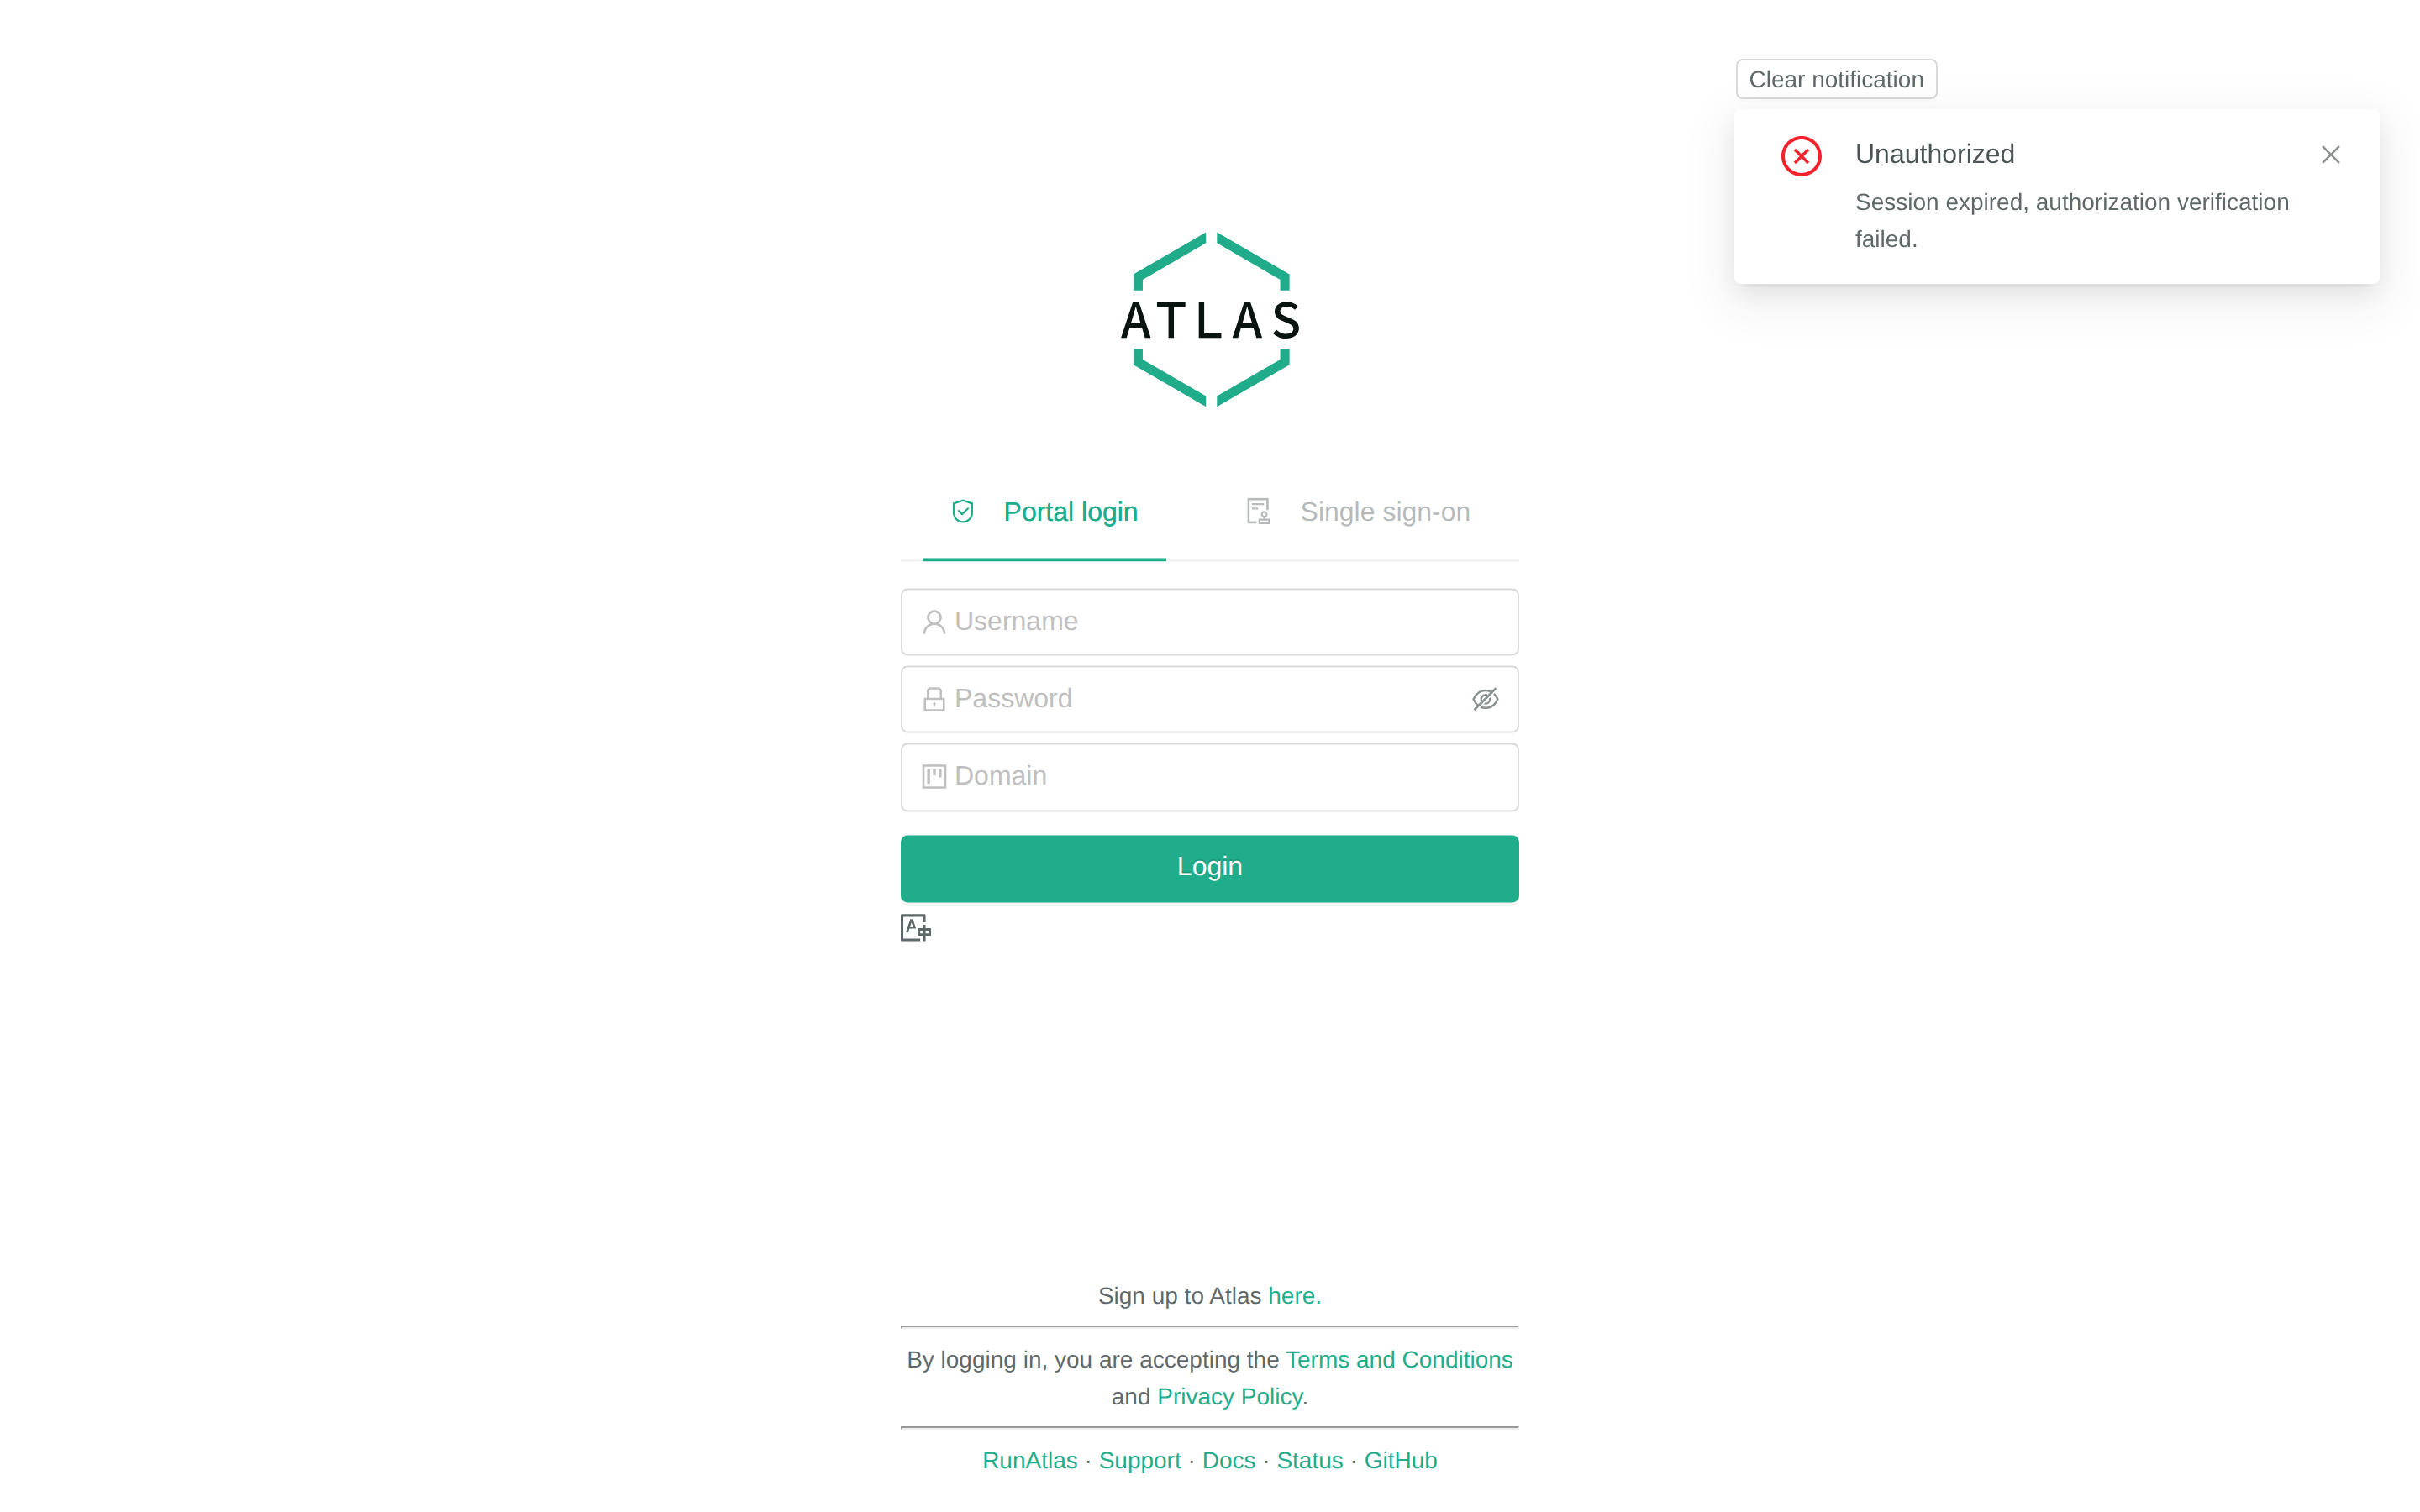
Sign in at https://sky.runatlas.is with your username, password, and Domain path (e.g. /demo).
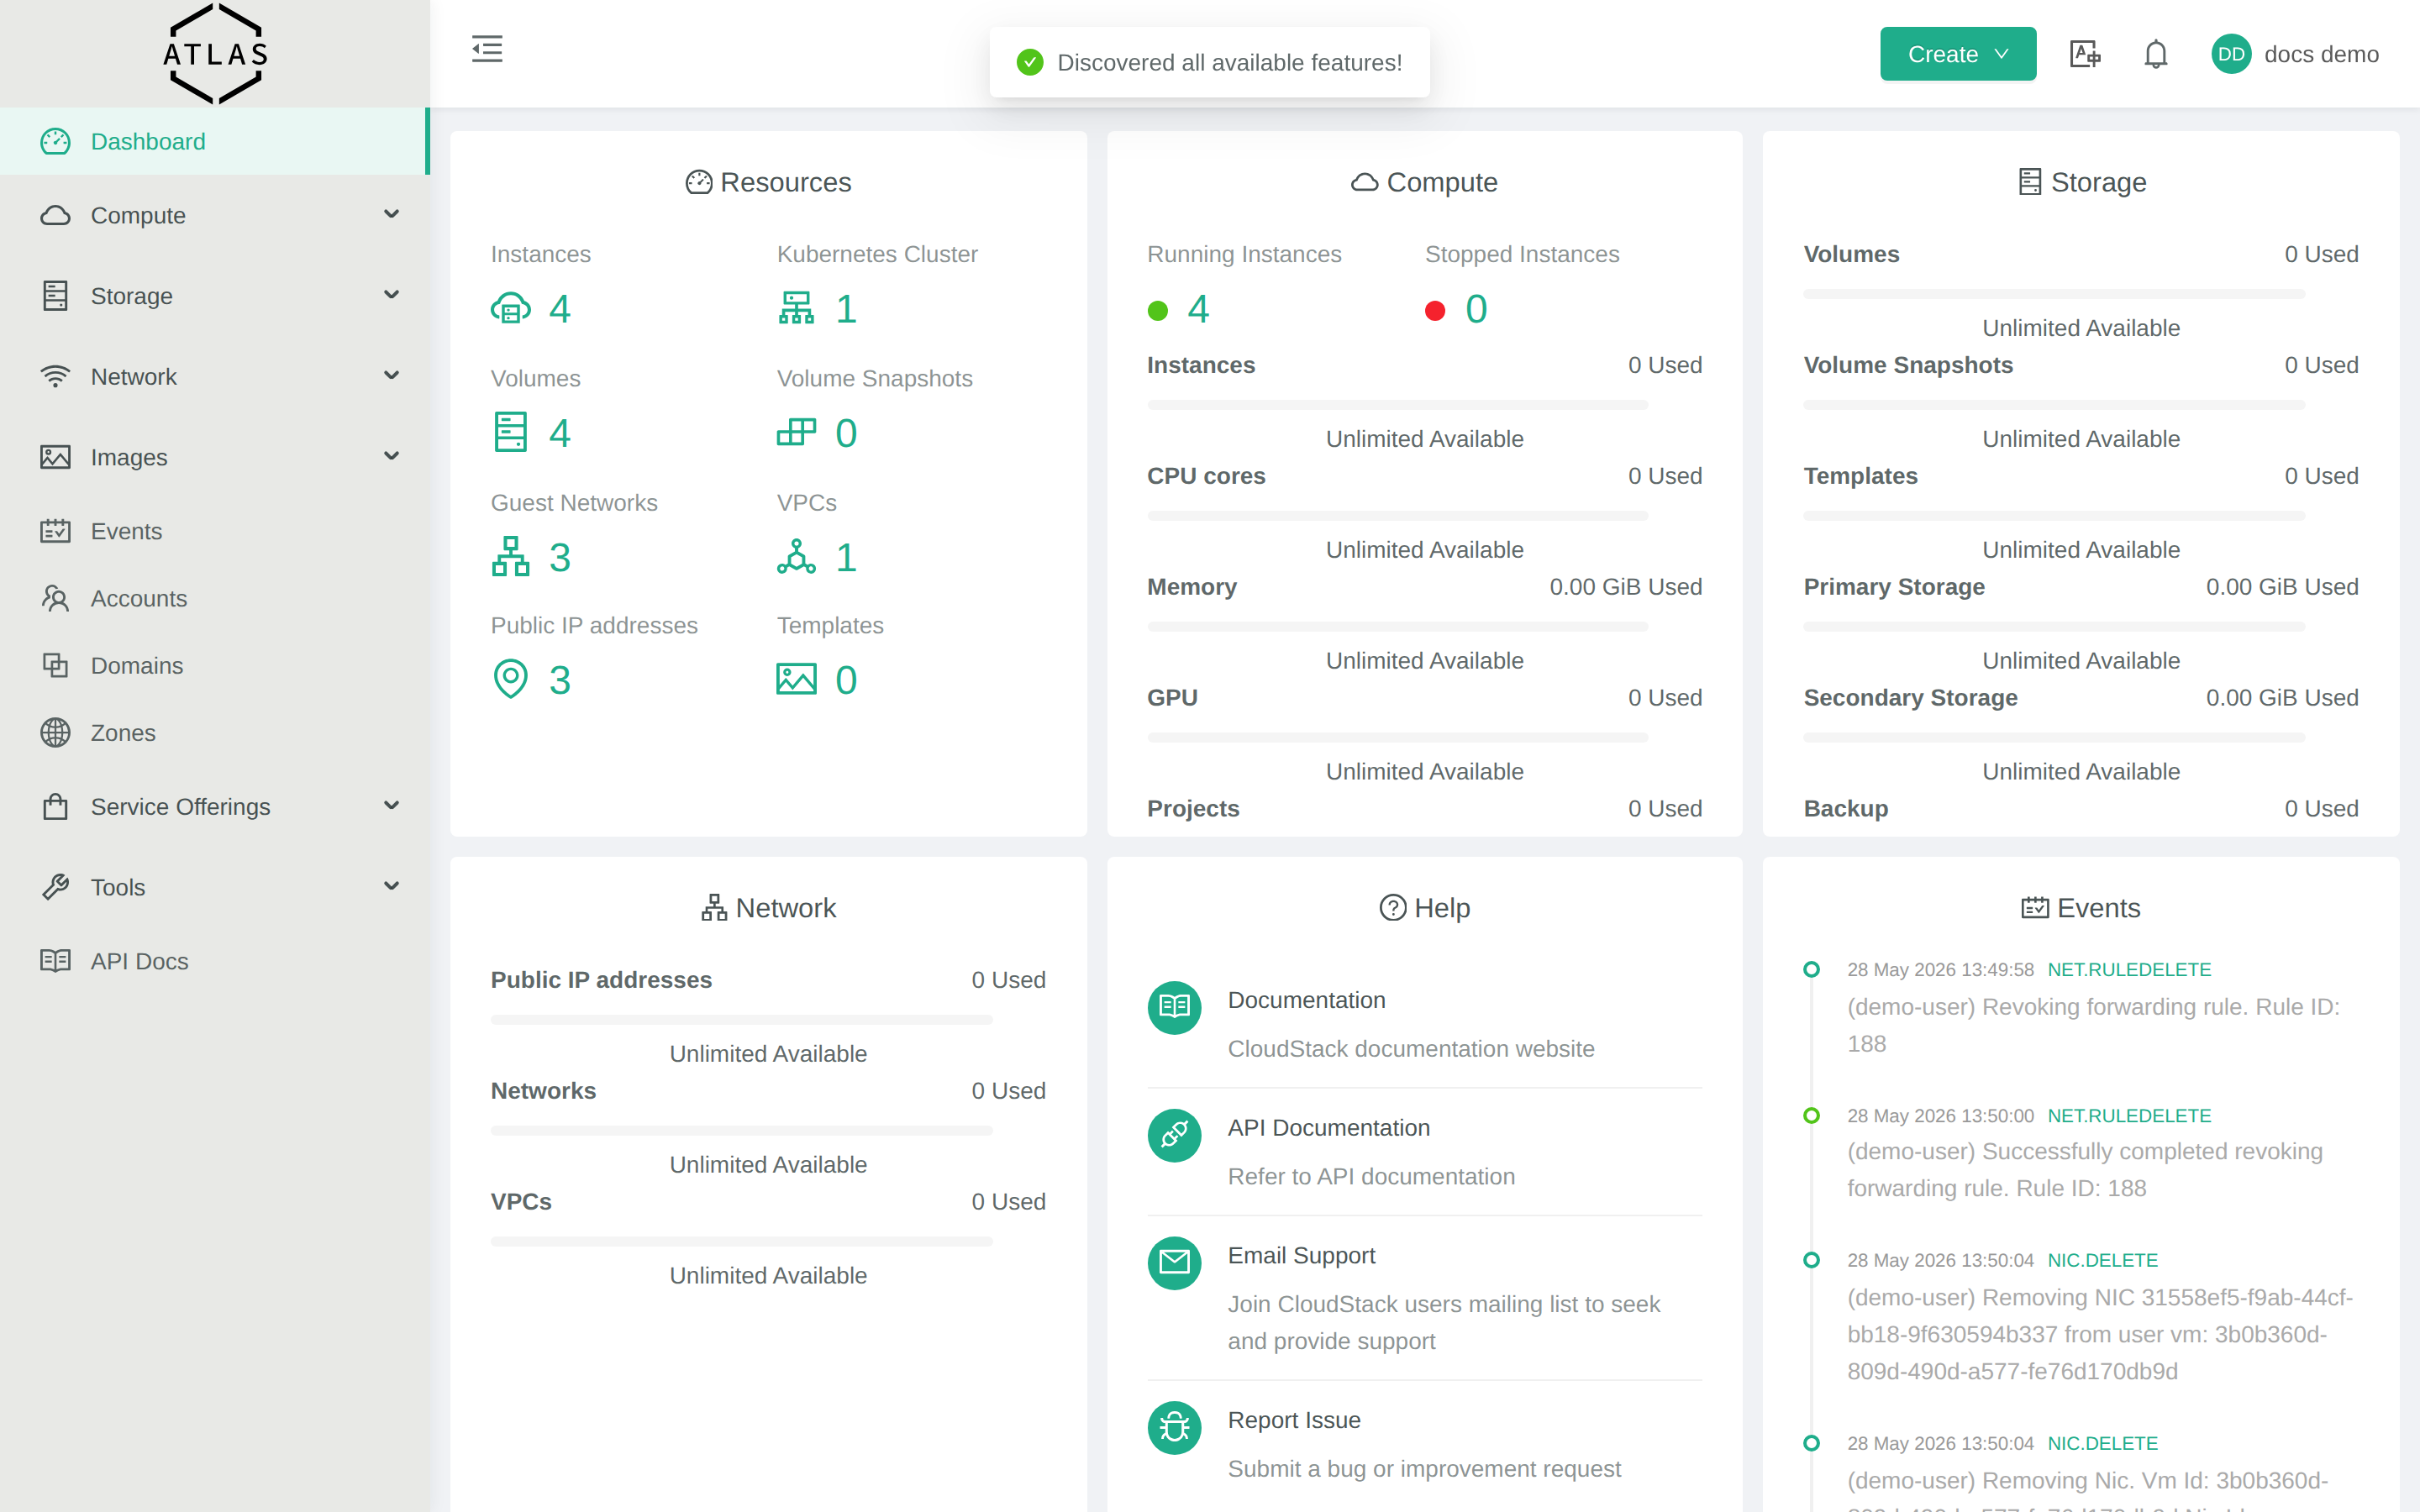
You land on the dashboard. The left sidebar groups everything by section — Compute, Storage, Network, Images.
2. (Optional) Create a Guest Network
If your account already has a Guest Network, skip to step 3. Otherwise:
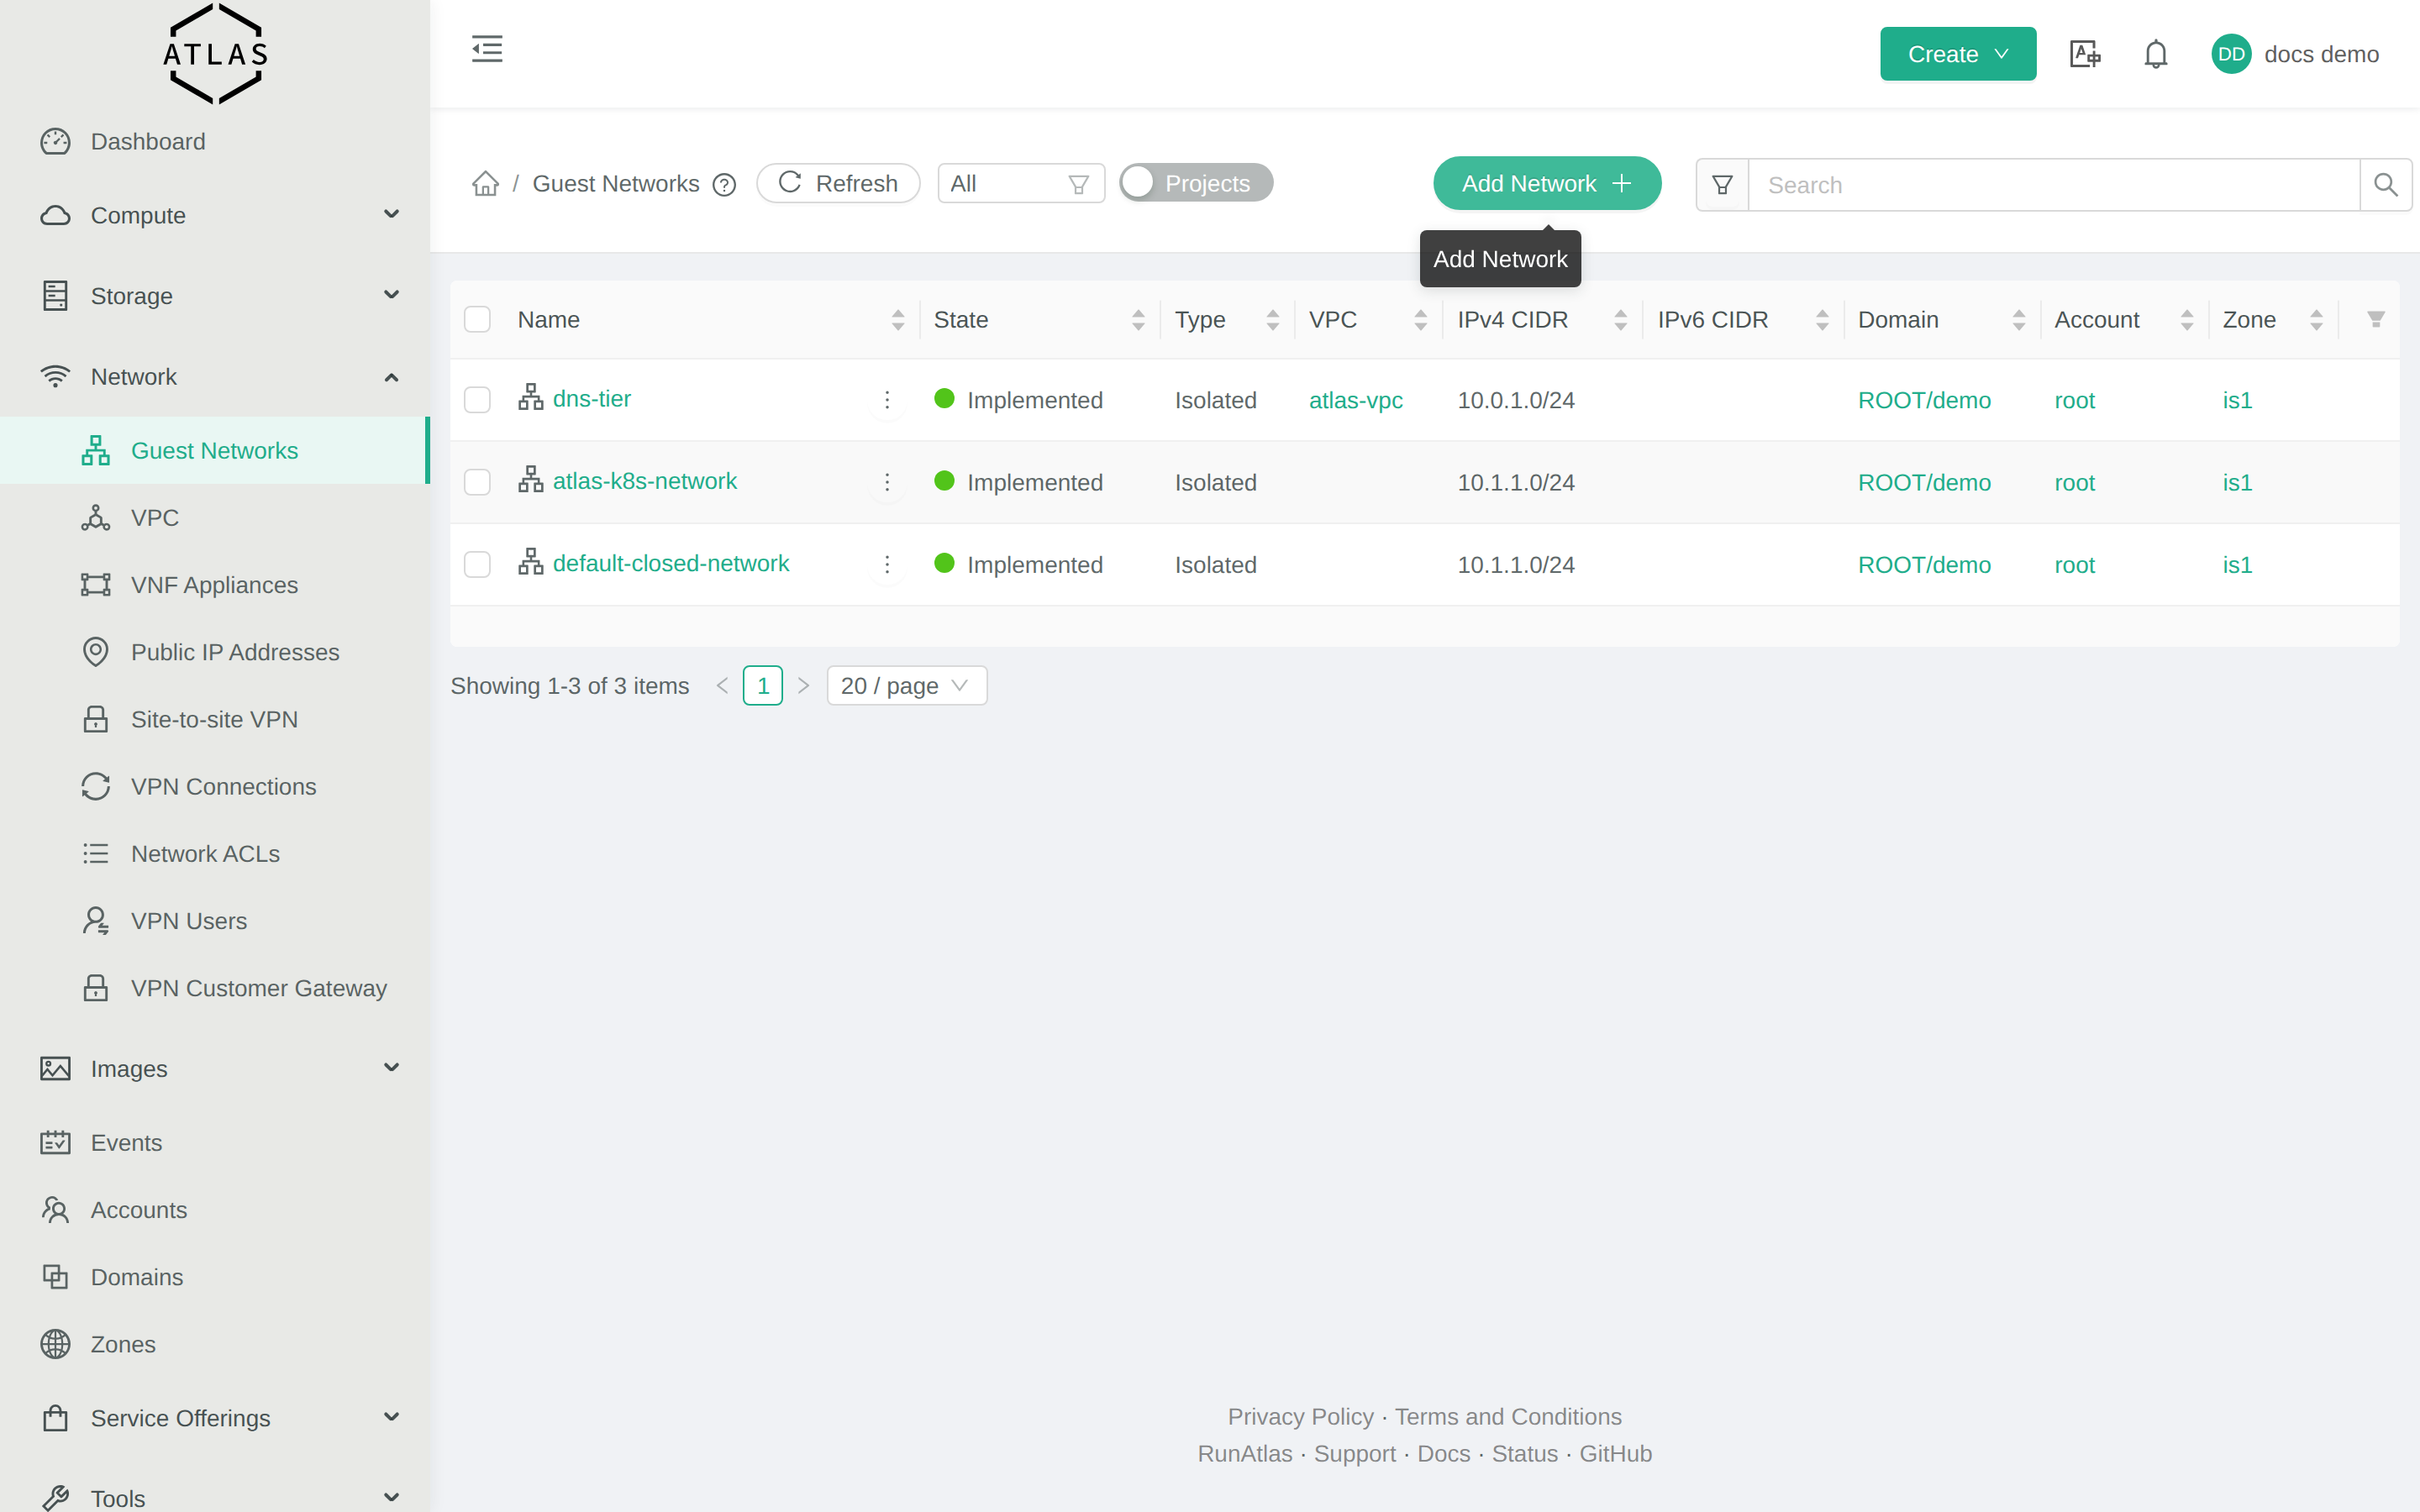
- Network → Guest networks.
- Click + Add network in the top-right.
- Name it
default, pick the default network offering, zoneis1.
3. Upload your SSH public key
So you can SSH into the VM.
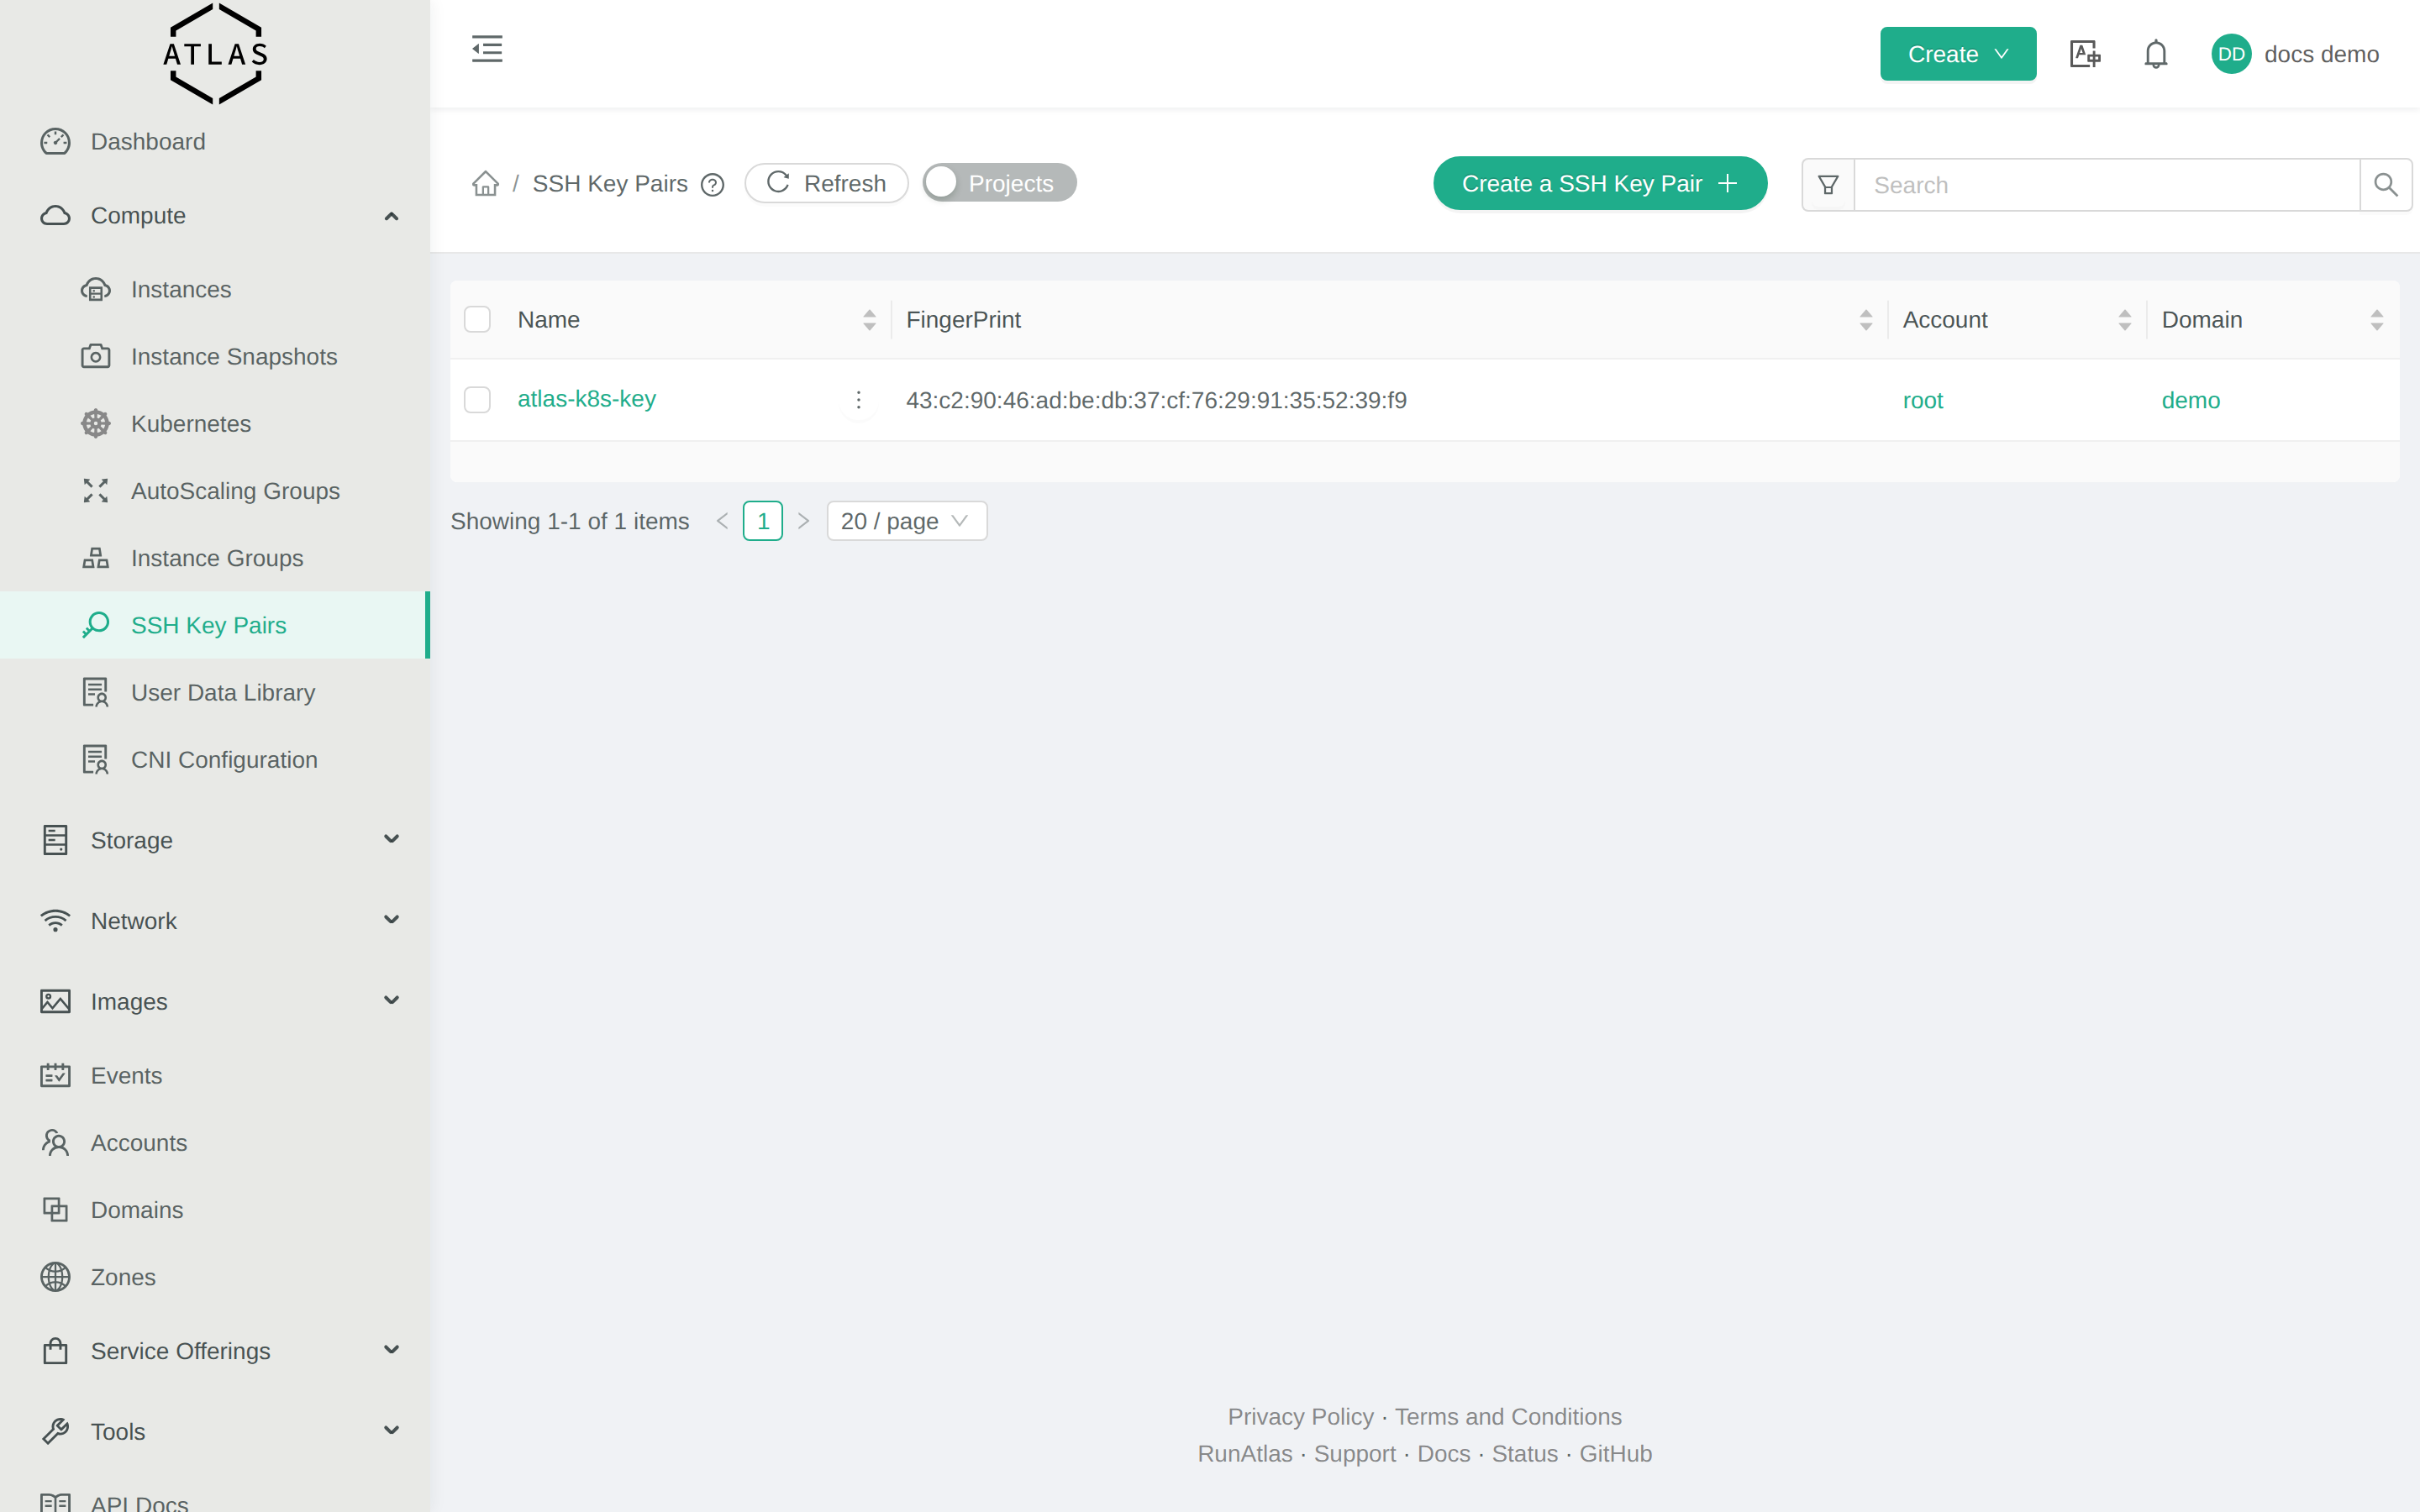
- Compute → SSH Key Pairs.
- Click Create a SSH Key Pair.
- Paste your
~/.ssh/id_ed25519.pub. Name itmykey.
4. Launch the VM
-
Click the green Create button (top right), then Instance.
-
The New Instance form is a four-step wizard. The right rail shows a live preview (“Your Instance”) of what you’re about to launch.
Step 1 — Account. Pre-filled with your domain and account. Leave it.
Step 2 — Zone. Pick
is1(the only one).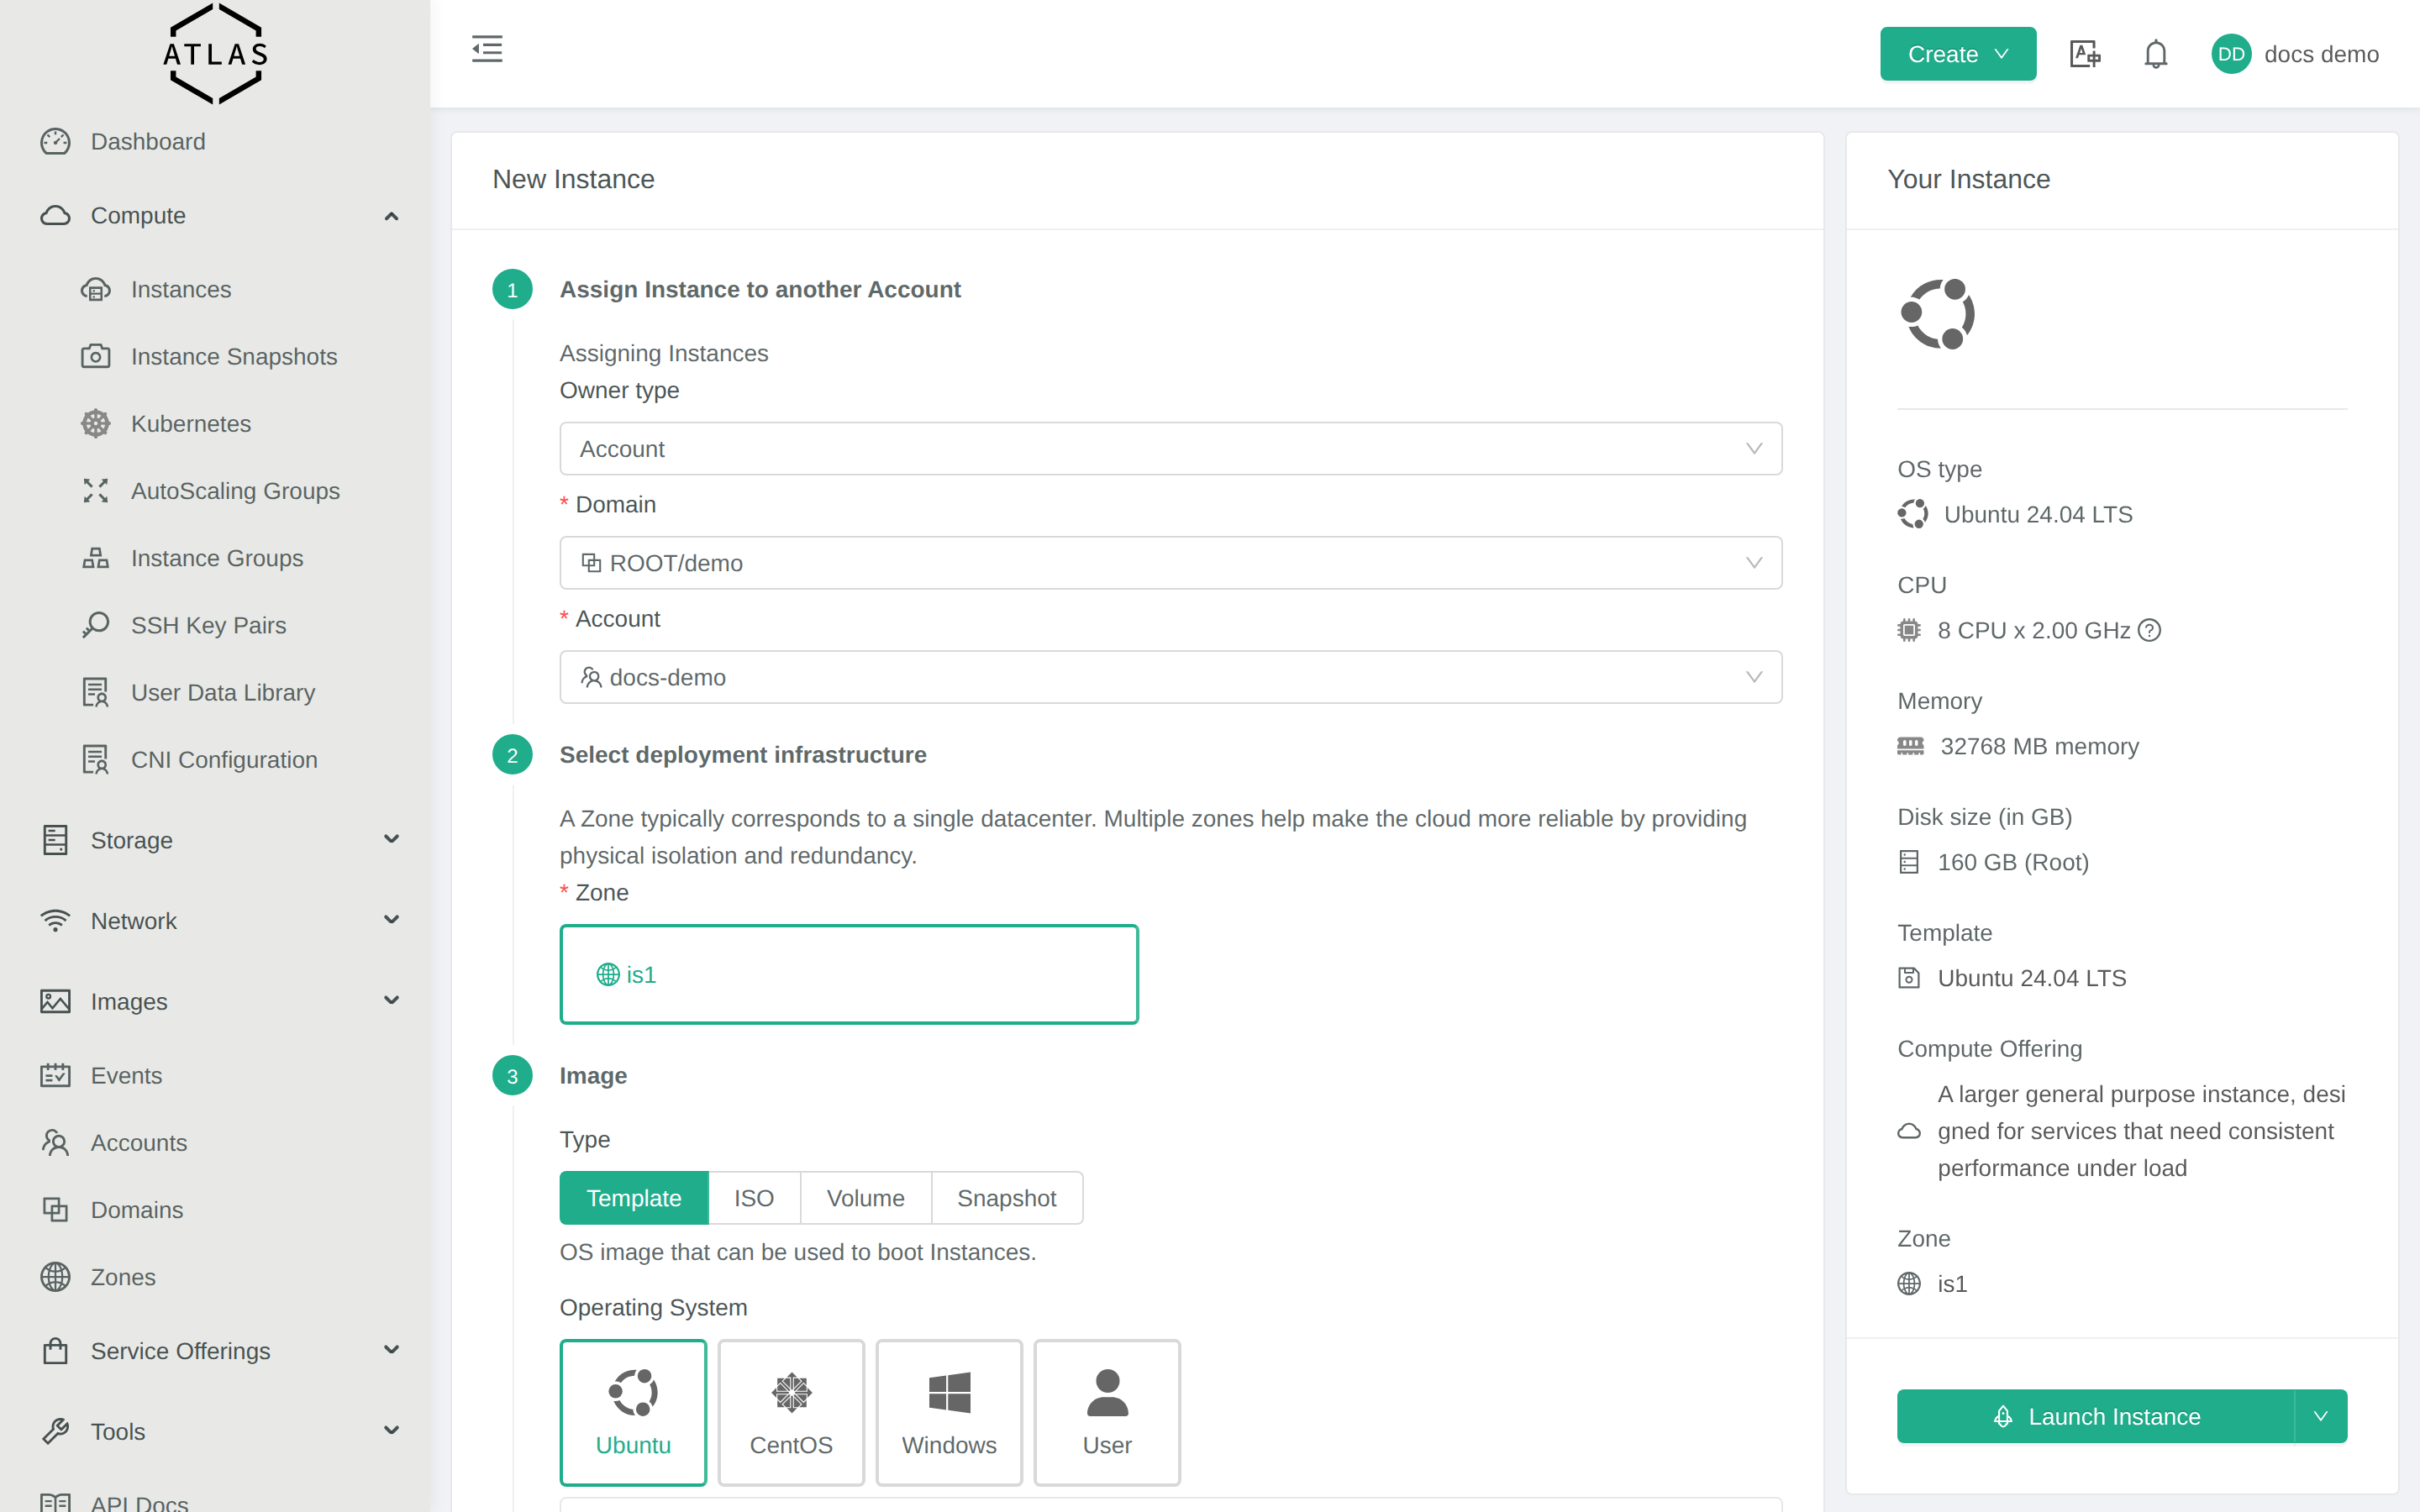
Step 3 — Image. Type
Template, OSUbuntu, pick Ubuntu 24.04 LTS from the list.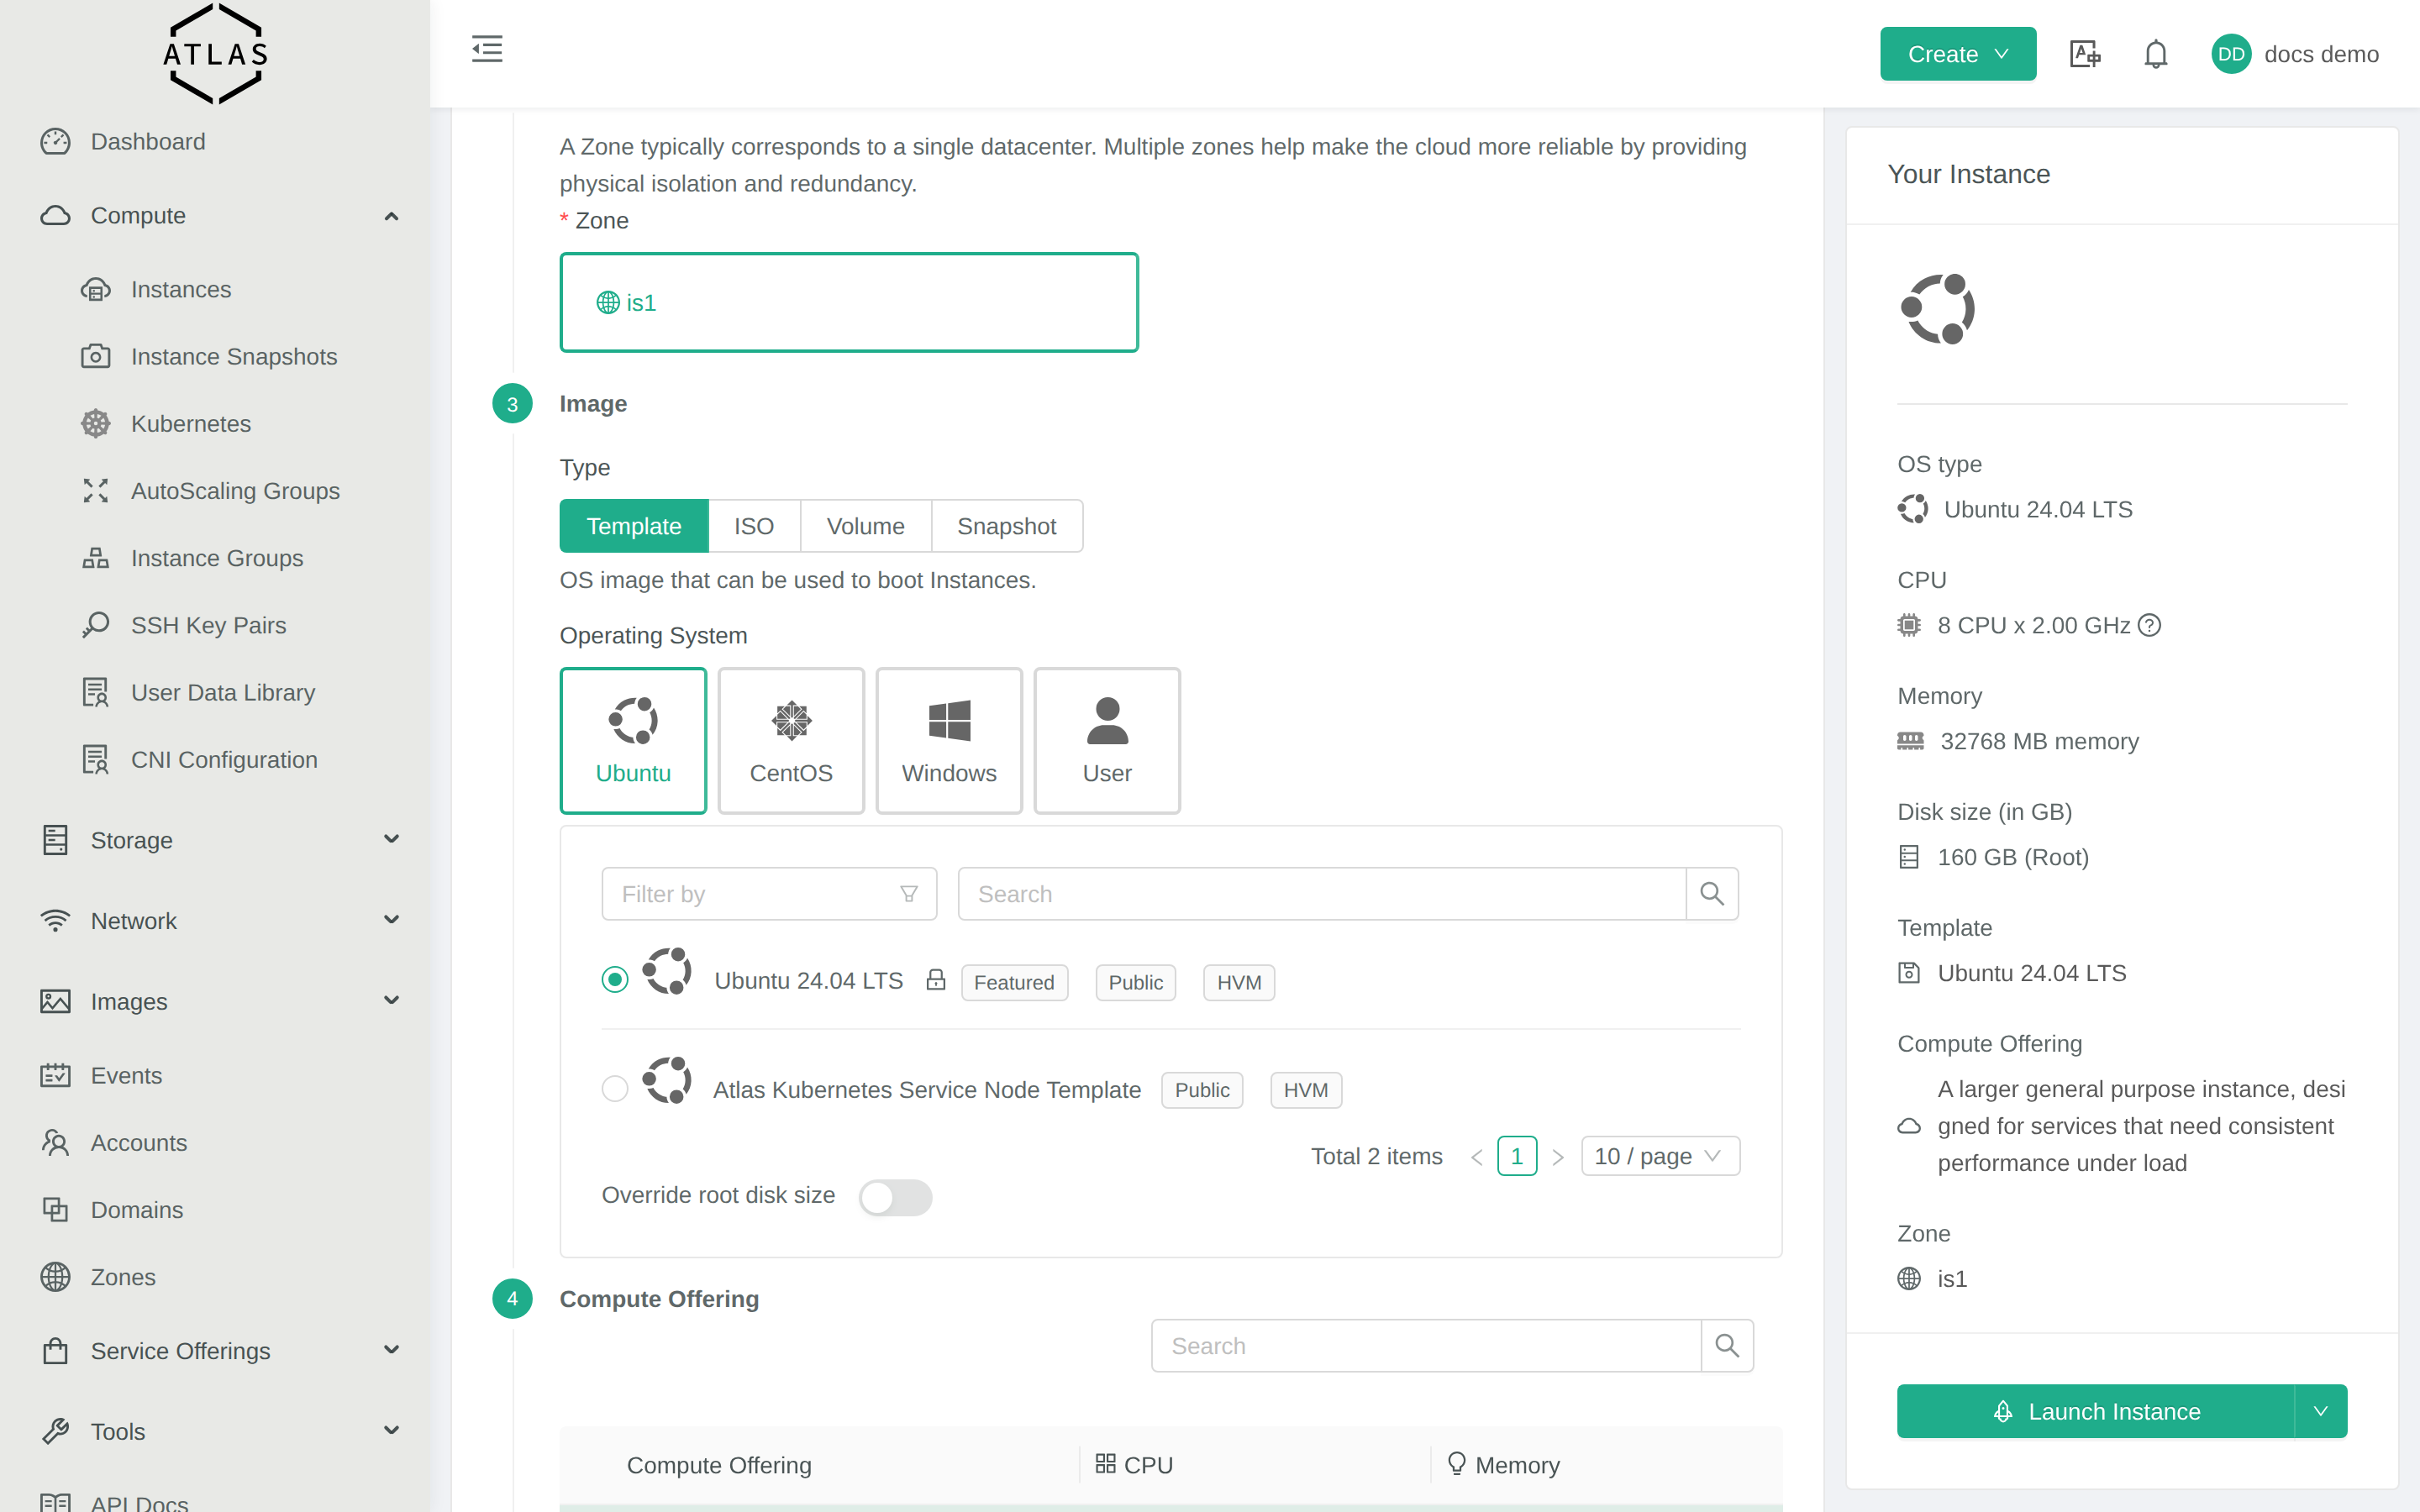
Step 4 — Compute Offering. Pick
Atlas.a4for a 1 vCPU / 4 GiB box (the smallest). For real workloads,Atlas.a5(2 / 8) orAtlas.a6(4 / 16).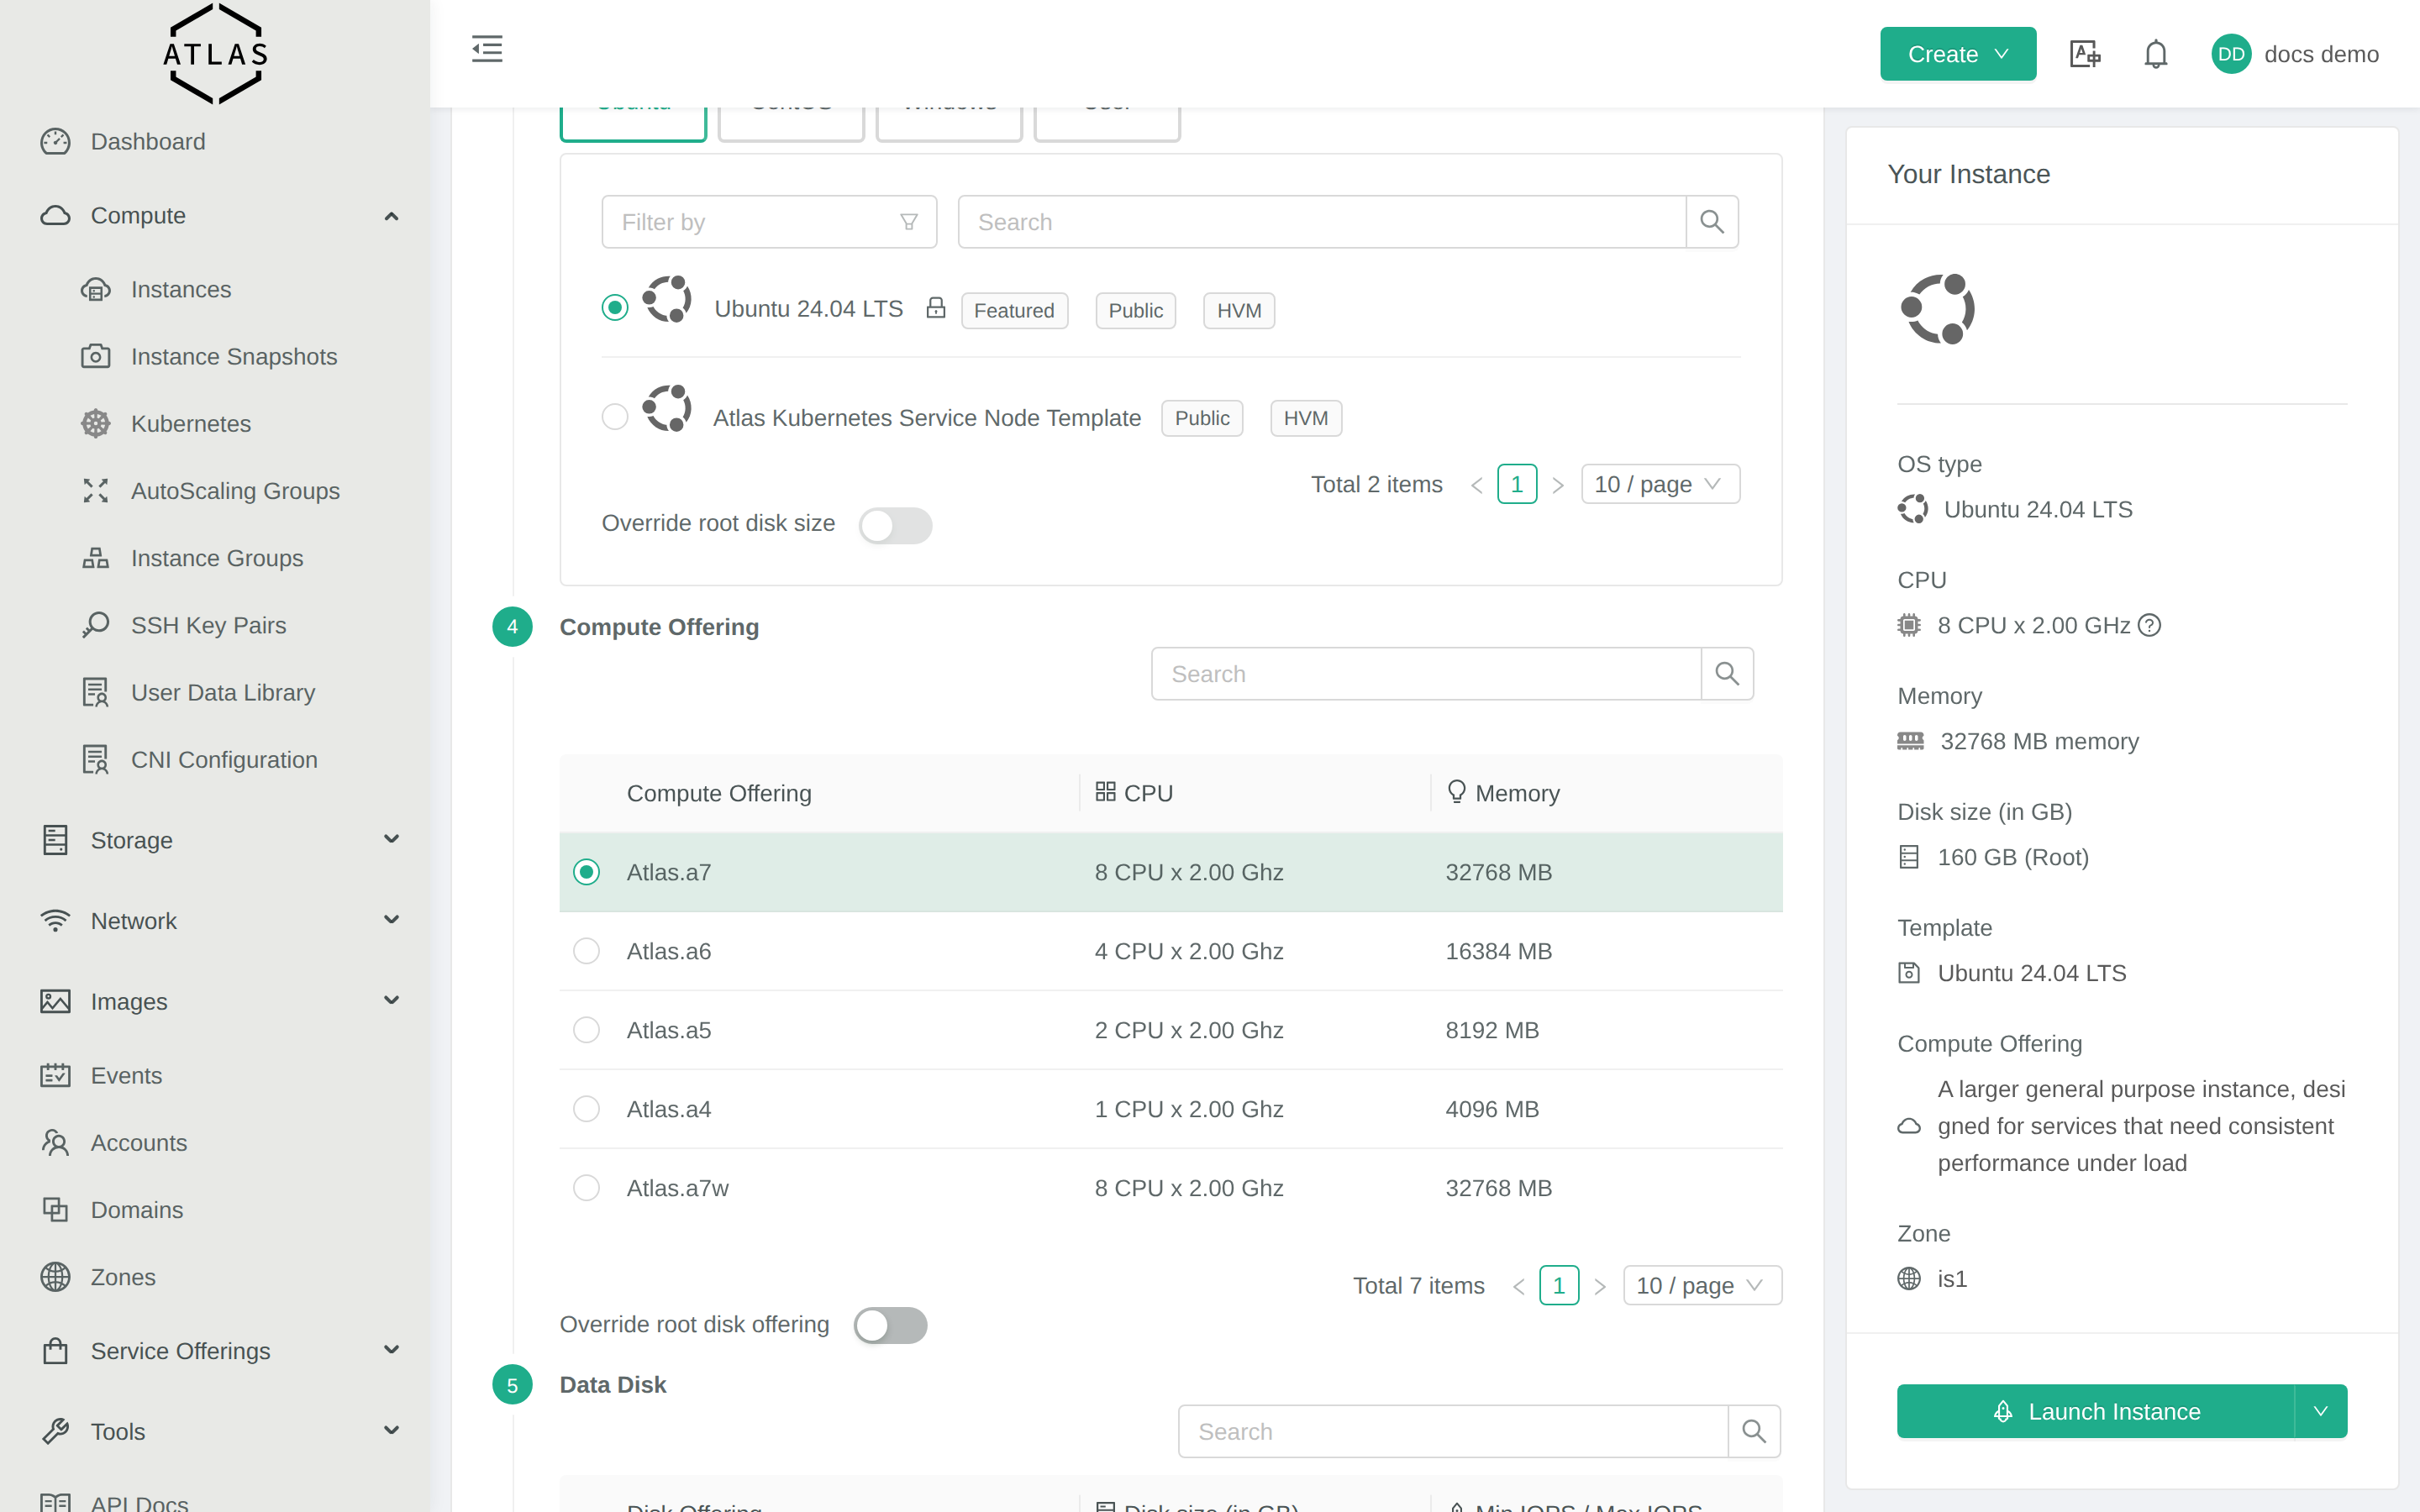
Below Compute Offering you’ll see Network, SSH key pair, and an optional Name field.
-
Set Name to
hello-atlas. -
Click Launch Instance (bottom right of the live-preview panel).
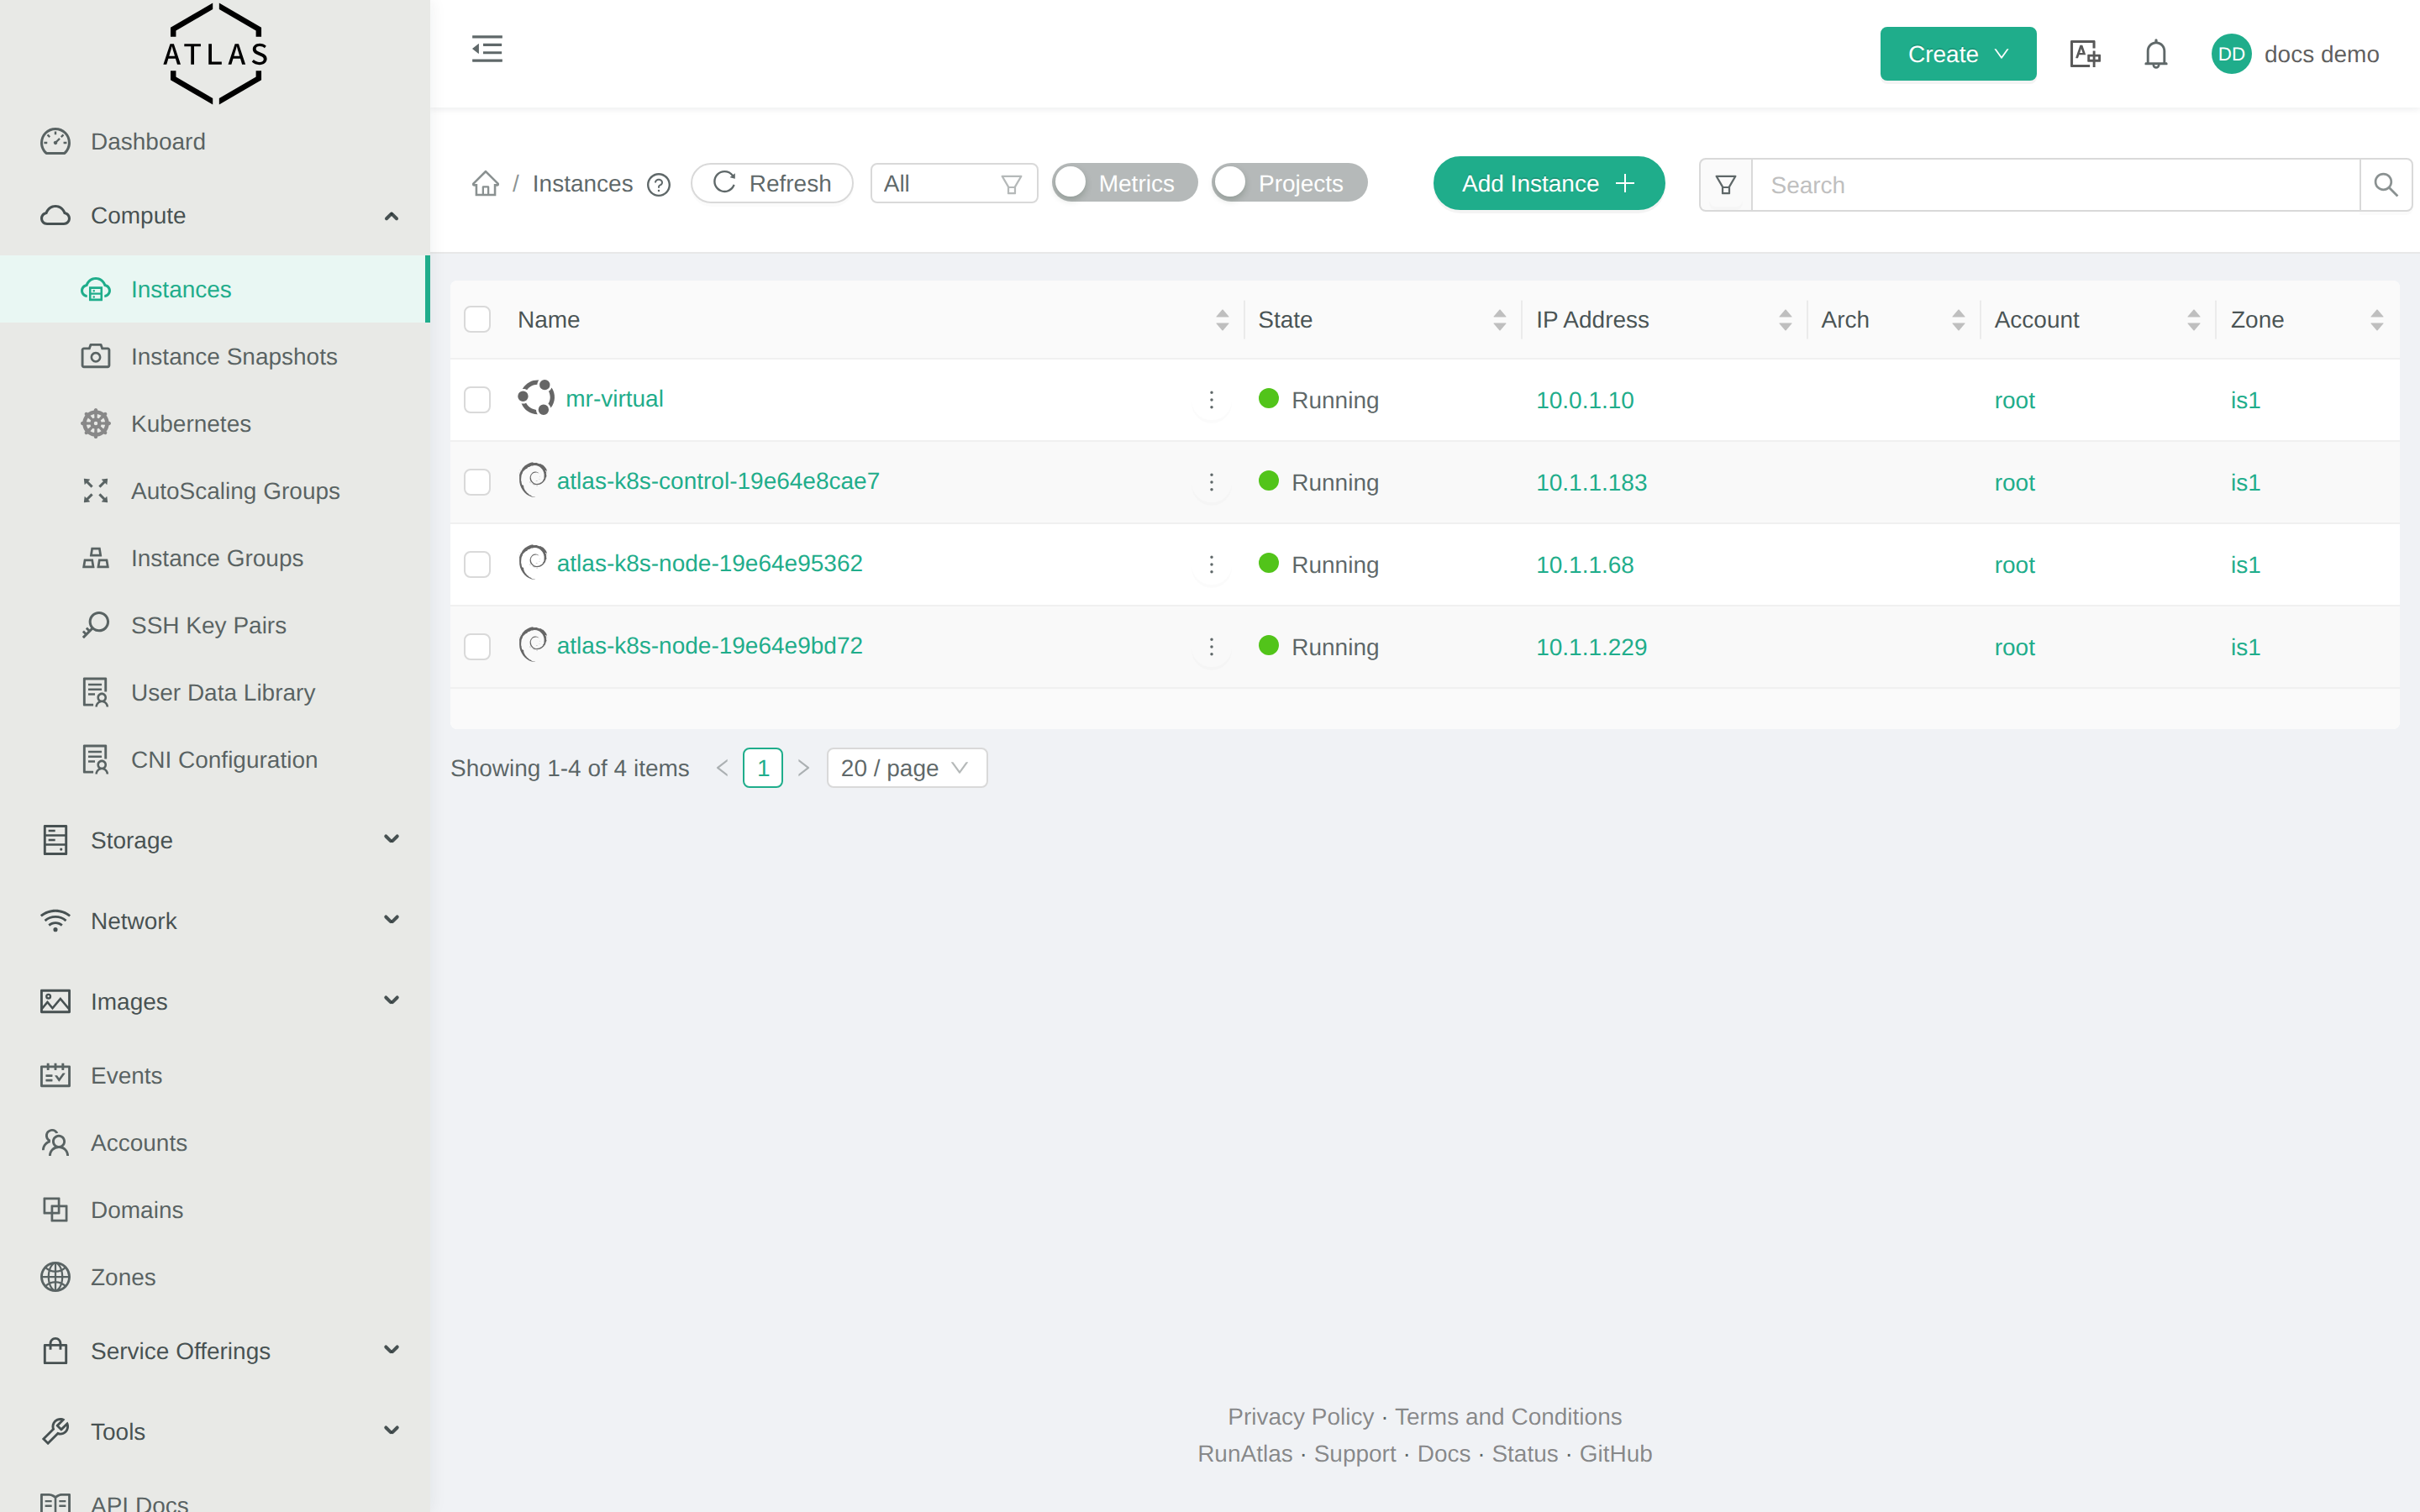
The VM appears in the Instances list within ~30 seconds.
5. Give it a public IP and forward port 80
-
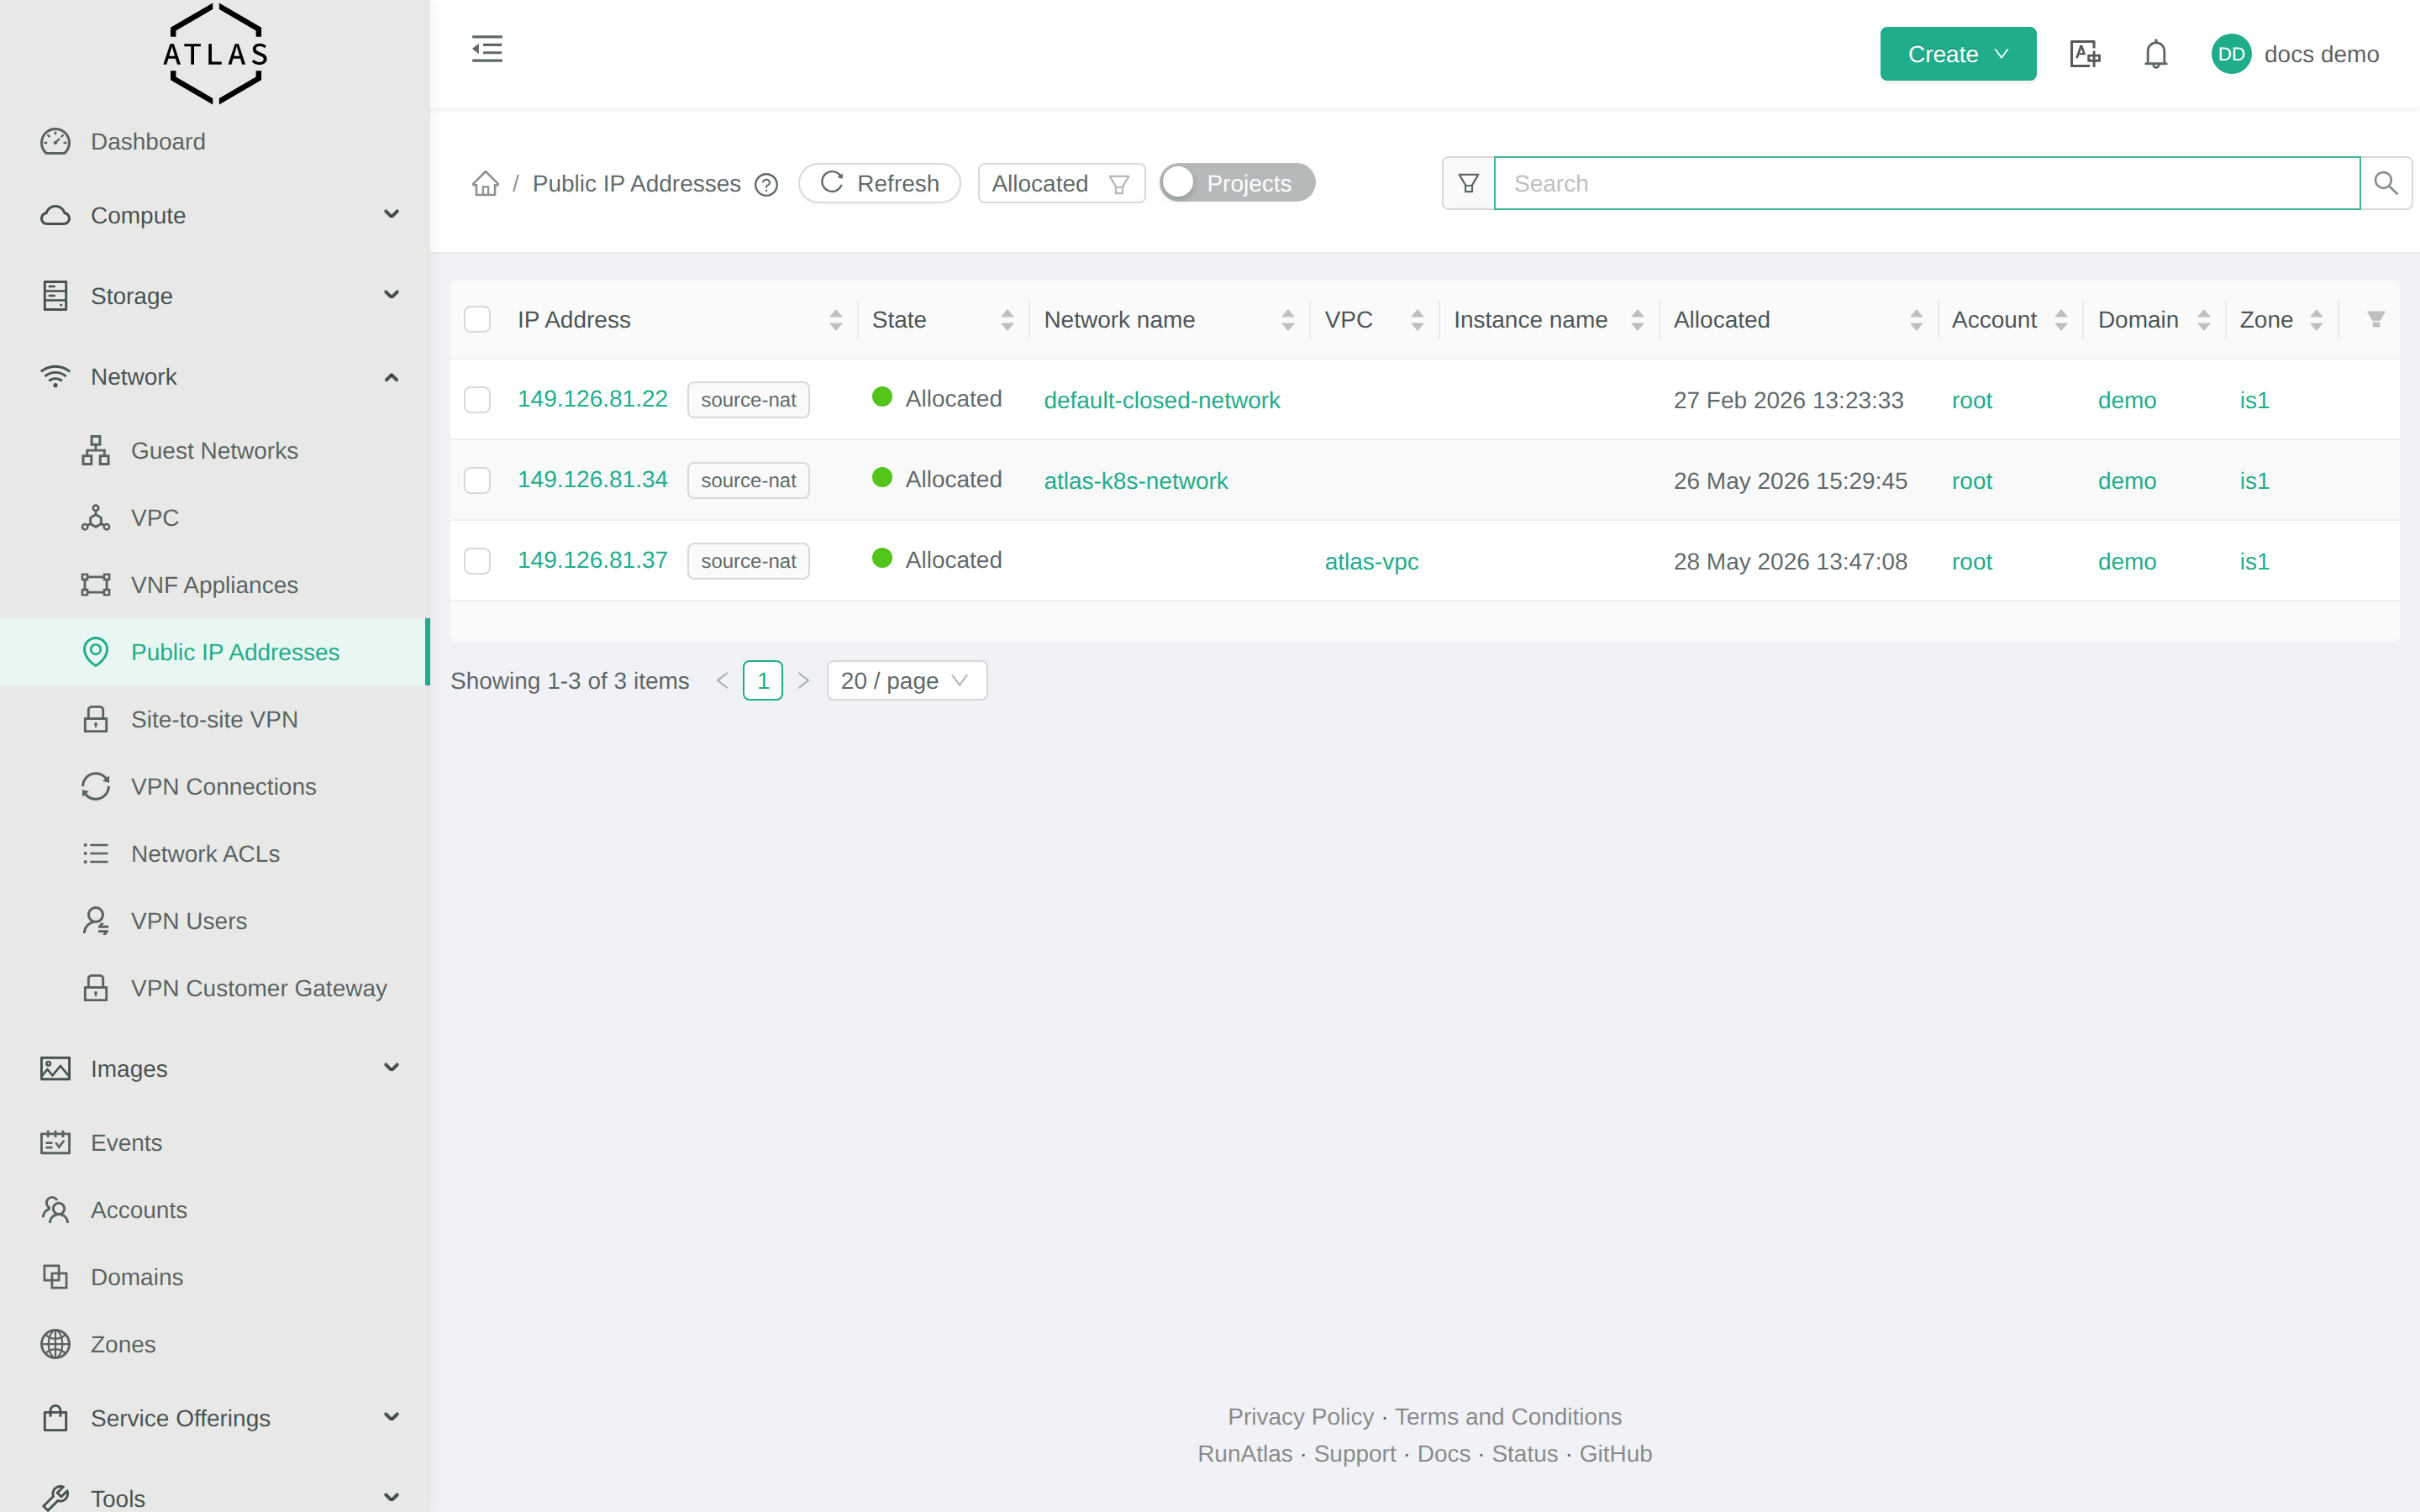
Network → Public IP addresses → + Acquire new IP.
-
Click the new IP. In the Firewall tab, allow TCP 80 from
0.0.0.0/0. -
In the Port Forwarding tab, add a rule: public 80 → VM
hello-atlasport 80.
6. SSH in and start nginx
SSH using the public IP and the SSH key you uploaded:
ssh ubuntu@<public-ip>
sudo apt update && sudo apt install -y nginx
exit
From your laptop:
curl http://<public-ip>You should see the nginx welcome HTML.
Done
You launched a VM, attached SSH access, gave it a public IP, opened a port, and reached it from the public internet. Same flow you’d use for any longer-lived workload.
Next steps:
- Snapshot the VM so you can roll back.
- Replace the flat Guest Network with a VPC for multi-tier architectures.
- Try the Quickstart again in
cmkor Terraform — same five steps in a few seconds instead of a few clicks.
Common failures
- VM stuck in
Starting→ Troubleshooting: VM stuck pending - SSH times out → Troubleshooting: Can’t SSH to VM
- Curl can’t reach the IP → check the firewall rule allows TCP 80 and the port-forward maps the public IP to your VM.