Introduction
This guide walks you through hosting a simple website on a Virtual Machine (VM) in Atlas Cloud using the web console. You’ll create a VM manually, install a web server, upload your website files, and configure DNS.
For infrastructure-as-code: See Website hosting with Terraform for automated deployment with version control and remote state management.
Prerequisites
- An Atlas Cloud account
- A registered domain name (e.g., yourdomain.com) — optional
- Basic knowledge of SSH and command-line tools
Step 1: Create a Virtual Machine
See Creating your first cloud service for a tutorial on creating a VM. See Instances and Guest Networks for further details of the following steps.
- Log in to the Atlas Cloud.
- Create a guest network if you don’t have one (see Guest Networks).
- Make sure your allow egress traffic on your network (see the link above)
- Create a new instance (see Instances), click “Add Instance” and configure:
- Name: web-server
- Template: Ubuntu 24.04 LTS
- Compute offering: Select
Atlas.a4(0.5 vCPU, 0.5 GB RAM) - Networks: Select the network you created above
- Click “Launch VM”.
Step 2: Assign a Public IP and Configure Firewall
- Go to Networking > Public IP Addresses.
- Acquire a new public IP if needed.
- For the public IP, configure port forwarding:
- Protocol: TCP
- Public port: 80 (for HTTP)
- Private port: 80
- VM: Select your web-server instance
- Repeat for HTTPS (port 443 to 443).
- Set firewall (ingress) rules to allow HTTP and HTTPS traffic from the internet.
- Configure egress rules for the network to allow outbound traffic. Click your network, go to the Egress rules tab, and add rules to allow:
- TCP port 80 (HTTP) to
0.0.0.0/0 - TCP port 443 (HTTPS) to
0.0.0.0/0 - UDP port 53 (DNS) to
0.0.0.0/0 - TCP port 53 (DNS) to
0.0.0.0/0
- TCP port 80 (HTTP) to
Why egress rules? Without egress rules, your VM cannot reach the internet for package updates (
apt update), DNS resolution, or fetching external resources like SSL certificates.
Step 3: Connect to Your VM
-
Use SSH to connect to your VM using the public IP and your SSH key.
ssh -i your-key.pem ubuntu@<public-ip> -
Update the system:
sudo apt update && sudo apt upgrade -y
Step 4: Install a Web Server
For this example, we’ll use Apache on Ubuntu:
-
Install Apache:
sudo apt install apache2 -y -
Start and enable Apache:
sudo systemctl start apache2 sudo systemctl enable apache2 -
Verify it’s running:
sudo systemctl status apache2
Step 5: Create and Upload Your Website Files
Create a minimal index.html file on your local machine:
<!DOCTYPE html>
<html lang="en">
  <head>
    <meta charset="UTF-8" />
    <meta name="viewport" content="width=device-width, initial-scale=1.0" />
    <title>Welcome to Atlas Cloud</title>
    <script src="https://cdn.tailwindcss.com"></script>
  </head>
  <body class="bg-gray-100 flex items-center justify-center min-h-screen">
    <div class="text-center">
      <h1 class="text-4xl font-bold text-blue-600 mb-4">
        Hello from Atlas Cloud! ☁️
      </h1>
      <p class="text-lg text-gray-700">
        Your website is live and looking great on Atlas.
      </p>
    </div>
  </body>
</html>
Upload it using SCP:
scp -i your-key.pem ./index.html ubuntu@<public-ip>:/var/www/html/Step 6: Test Your Website
- Open a browser and visit http://your.ip.address.
- Ensure the site loads correctly.
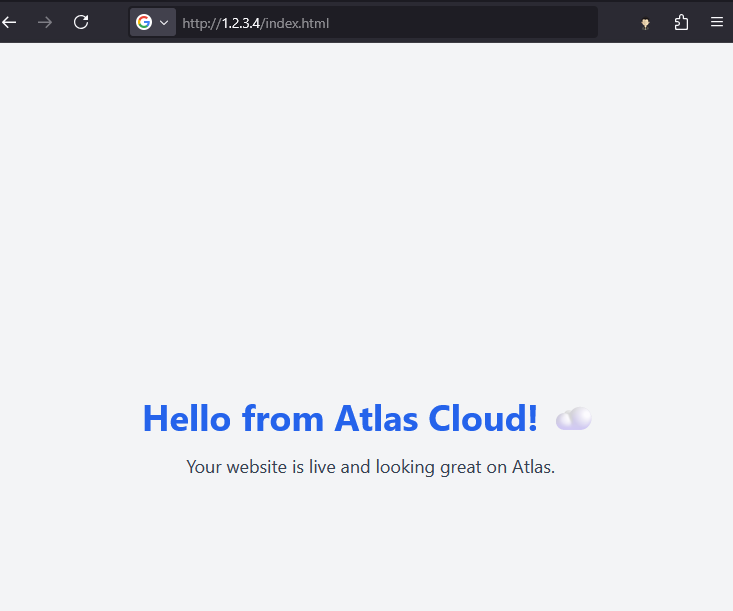
Congratulations! Your website is now hosted on Atlas Cloud.
Optional: Configure Your Domain
- In your domain registrar’s DNS settings, add an A record:
- Name:
@ - Type:
A - Value:
your.public.ip.address(from the IP address view in the Atlas Console)
- Name:
- Wait for DNS propagation (may take up to 24 hours, but usually near-instant).
- Visit your domain (e.g., http://yourdomain.com) to confirm.
Optional: Add SSL with Let’s Encrypt
-
Install Certbot (recommended method):
sudo apt update sudo apt install certbot python3-certbot-apache -y -
Obtain a certificate:
sudo certbot --apache -d yourdomain.com --non-interactive --agree-tos --email your-email@example.com --redirect -
Verify automatic renewal is enabled:
sudo systemctl status certbot.timer
Note: For automated infrastructure deployment, see Website hosting with Terraform for an IaC approach that includes SSL setup.